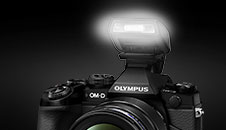

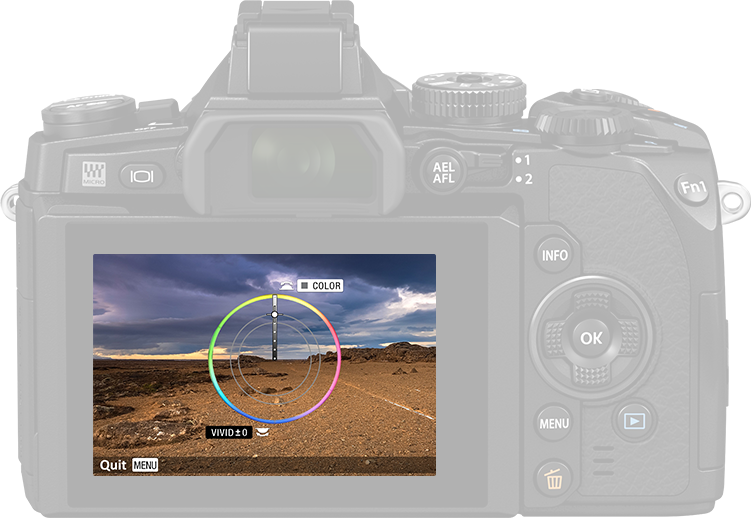
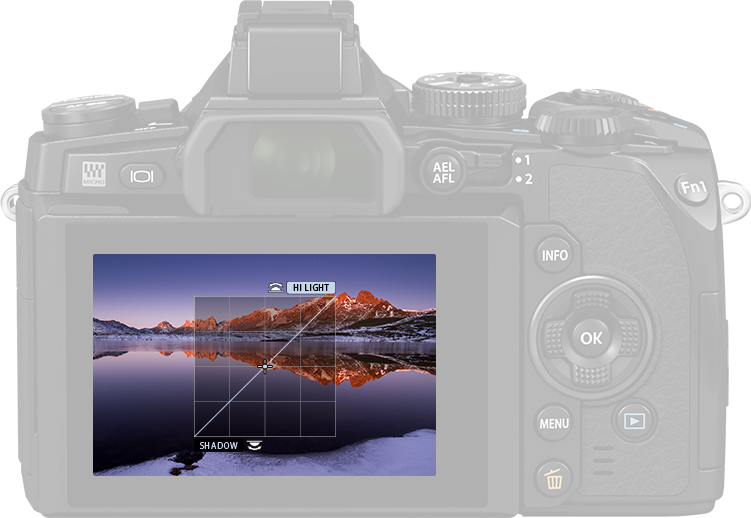
Adjust the colour of the subject before you even take the photo thanks to built-in Color Creator. Simply set the multi-function button to Color Creator in advance, press the Fn2 button and set the hue you want using the front dial and saturation using the rear dial.
OM-D E-M1 Quick Guide
Let's get started
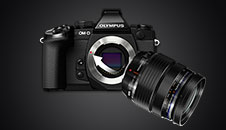
1 - Exchange lenses
Learn about dials
6 - Setting mode
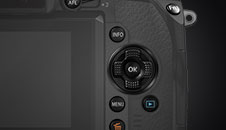
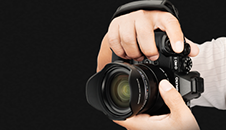
Control your camera
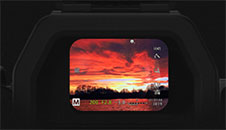
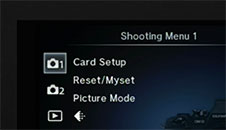
7 - Symbols in the EVD/LCD
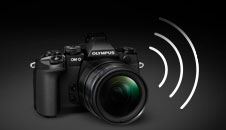
Connect with Wi-Fi
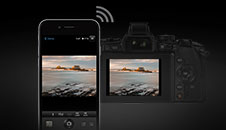
10 - How to set up Wi-Fi
-
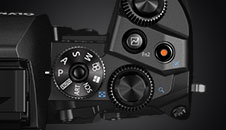
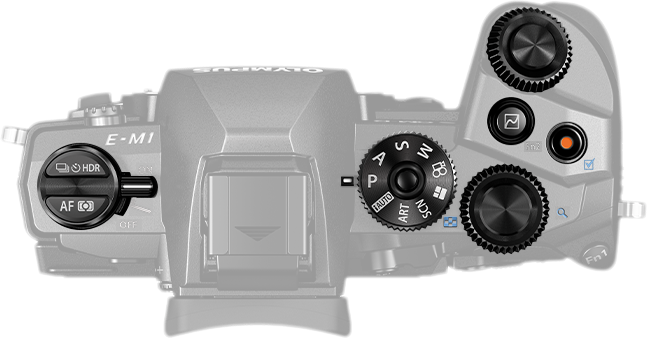
Chapter 2: Buttons and dials top
The buttons and dials on the top of your camera mean many of the key functions and settings are comfortably within reach for fast handling while you shoot.
-

A
A
-
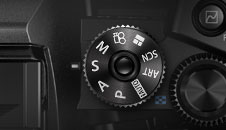
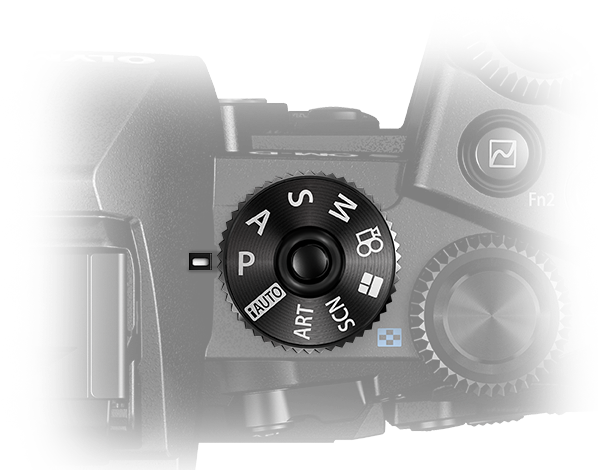
Mode dial
Turn the mode dial to select a shooting mode, e.g. iAUTO mode which fully optimises all settings for the current scene. It is ideal for getting started with your E-M1. Press the mode lock button in the centre of the dial to lock your mode and prevent it being accidently changed; press it again to release it when you want to change modes.
-
B
B
-
Rear dial
Use the rear dial, for example, to adjust shutter speeds or aperture in the various modes selected with the mode dial. Also use it to zoom in and out when viewing your pictures. (The blue symbols next to the dial are for replay mode functions.)
-

C
C
-
Front dial and shutter button
The front dial is perfectly positioned around the shutter button for ergonomic and rapid setting of aperture and exposure compensation settings in different modes selected with the mode dial.
-
D
D
-
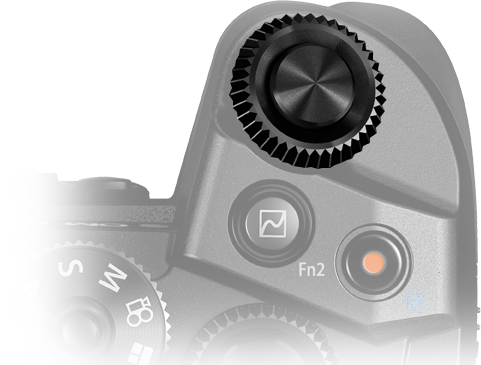
Movie button
Use the mode dial to select any mode except Photo Story to record movies while you shoot still images. Simply press the Movie button to start recording and press the Movie button again to end recording.
-

E
E
-
Function button
Use the function button Fn2 to select creative control functions like Color Creator or the gradation curve while you frame and shoot images using the viewfinder. Press and hold down the function button Fn2 and rotate the front or rear dial to select the menu and functions.
-

F
F
-
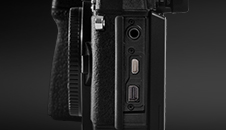
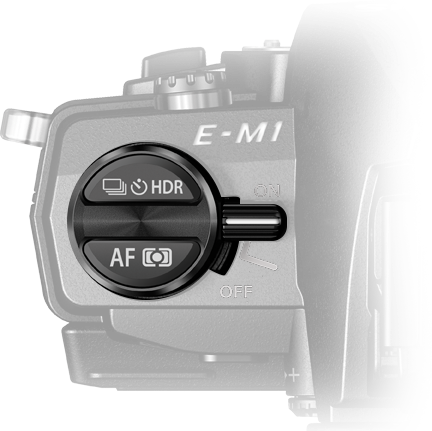
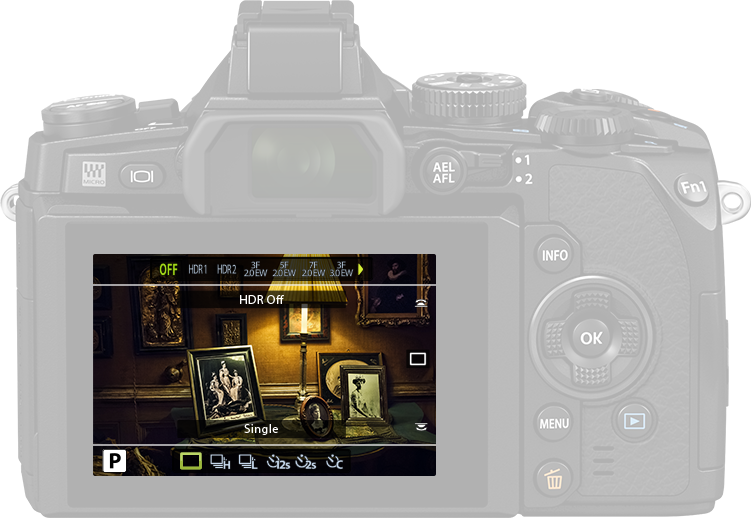
ON/OFF lever + AF/HDR button
Turn your camera on and off with the ON/OFF lever. The AF button can be used to select AF or Metering mode for autofocus or controlling subject brightness. With the HDR button, you can choose a range of Sequential Shooting options or set the self-timer.
-

Congratulations! You’ve finished chapter 2!
Table of contents
Let's get started
1 - Exchange lenses
Learn about dials
6 - Setting mode
Control your camera
7 - Symbols in the EVD/LCD
Connect with Wi-Fi
10 - How to set up Wi-Fi