
Image only
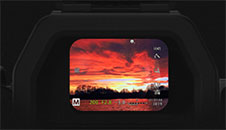
View the final image before shooting.
Let's get started
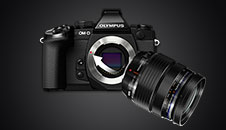
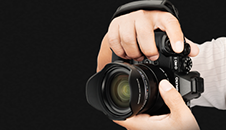
1 - Exchange lenses
Learn about dials
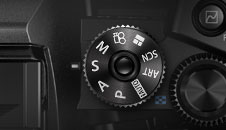
6 - Setting mode
Control your camera
7 - Symbols in the EVD/LCD
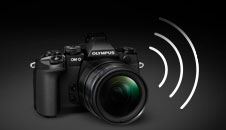
Connect with Wi-Fi
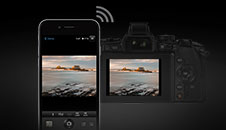
10 - How to set up Wi-Fi
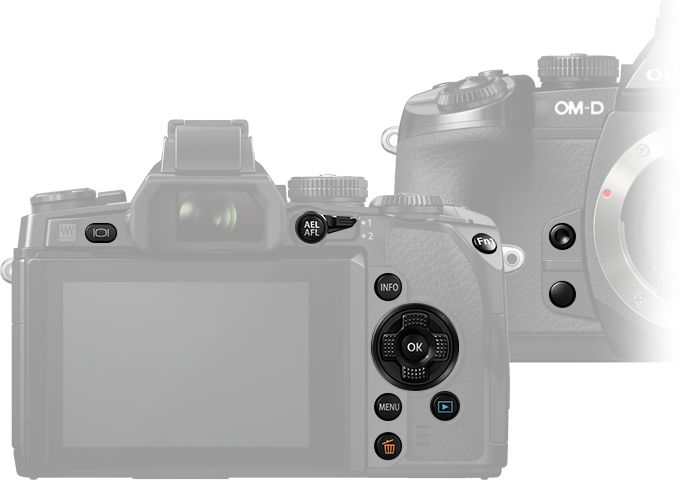
Chapter 3: Buttons front/back
Get to know how to use the buttons on the front and back of your camera with this quick overview.
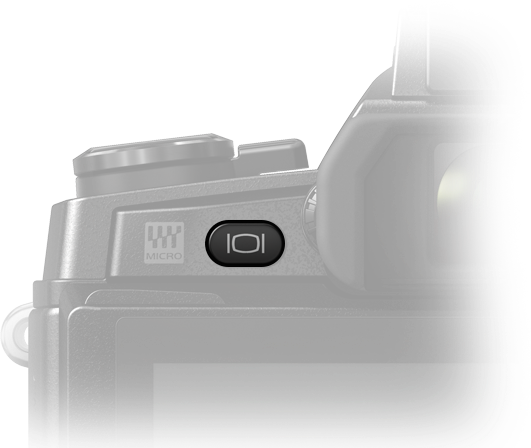
Press the Live View (LV) button to switch between shooting with the viewfinder and shooting with Live View. Press and hold down to quickly switch the eye sensor on or off. When shooting with the viewfinder, the Super Control Panel is displayed on the monitor, giving you key information about your camera’s settings.
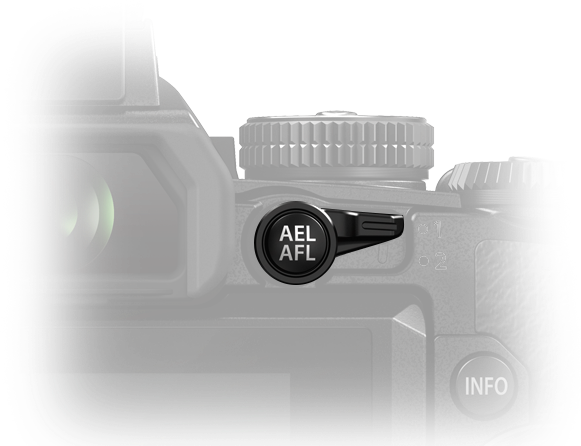
Press the AEL/AFL button to lock exposure settings while you shoot. Press again to release the lock. When viewing images you’ve taken, you can press the AEL/AFL button to protect your pictures from being accidently erased too.
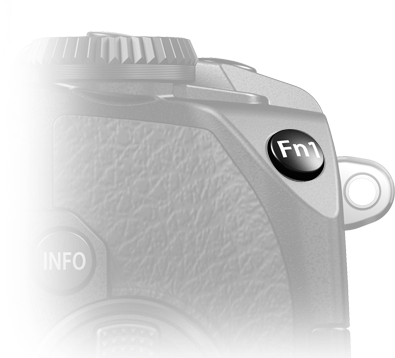
Press the function button Fn1 to display the AF targets. Rotate the front or rear dial to choose the AF position.
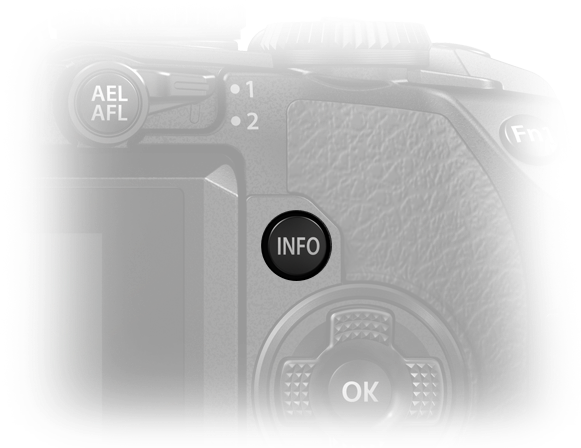
Use the Info button to switch the information displayed when either shooting through the viewfinder or using Live View. For example, choose between information, histogram, level gauge or image only display. During playback, switch the information displayed in the monitor by pressing the INFO button to display image only, display image and simplified information or to display image and detailed information.
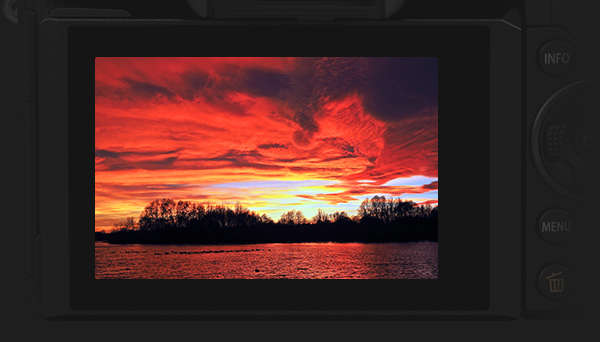
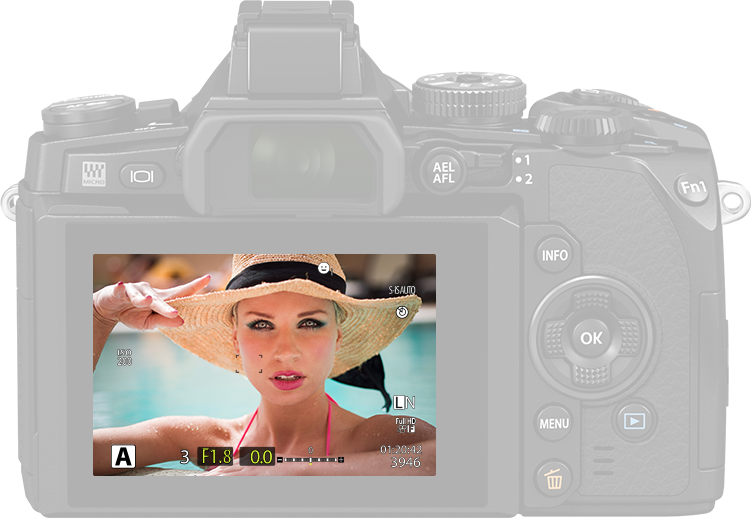
View the final image before shooting.
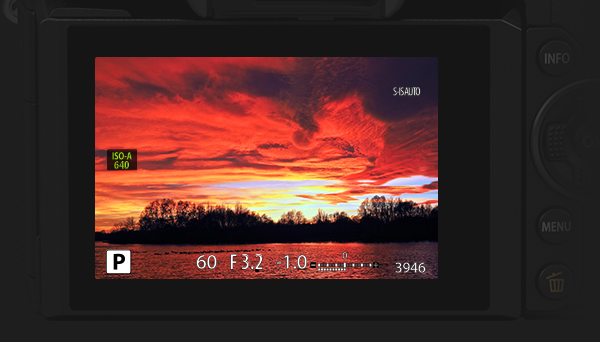
View the final image and it’s key settings – for example the aperture, ISO level and shooting mode – before shooting.
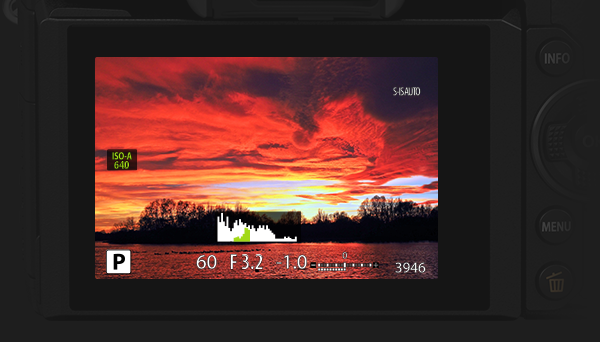
Display a histogram of your photo showing the distribution of brightness. Areas above the upper limit at shooting are displayed in red, those below the lower limit in blue, and the area metered using spot metering in green.
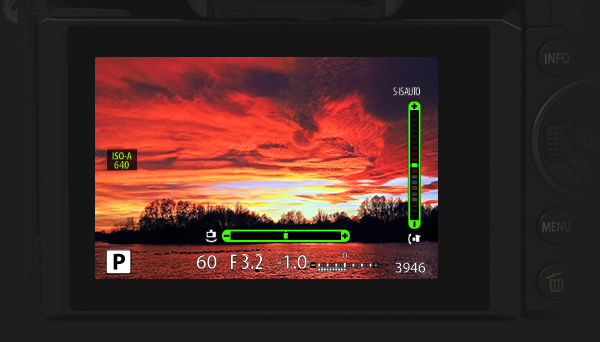
Know if the camera is level or not with the level gauge as a guide. The “tilt” direction is indicated on the vertical bar and the “horizon” direction on the horizontal bar.
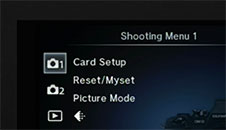
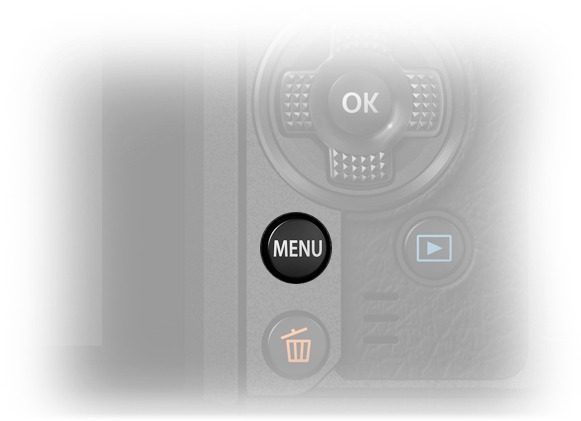
Press the Menu button to display the menus. Use the arrow pad and OK button to select options and camera settings. The menus contain shooting and playback options not displayed by the live control and let you customise your camera settings for easier use.
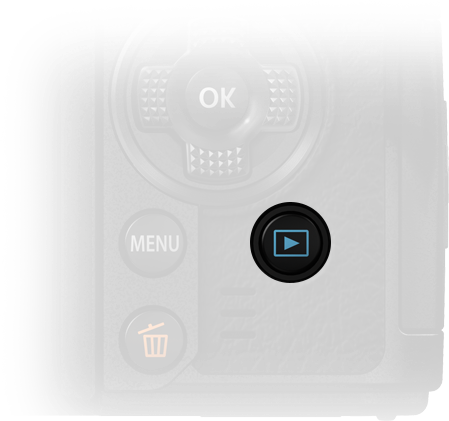
Press the Playback button to view your movie or photo. Use the arrow pad to select further photos or movies you wish to view.
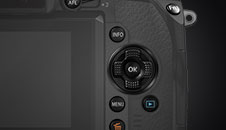
Select menu options by pressing the up or down arrow pad buttons, and then to select YES/NO. Press OK to select and view options. Use the left and right arrow pad buttons to move sideways and select other options, followed by pressing the OK button. Select the pictures/movies you wish to view in Playback mode with the arrow pad and OK button. If you are not in the menu, you can use the up and down arrow pad buttons to move the image’s focus point.

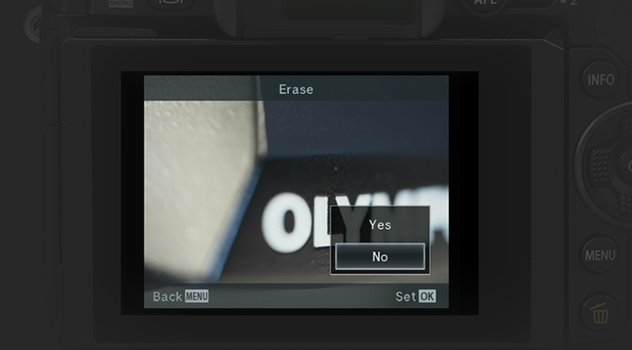
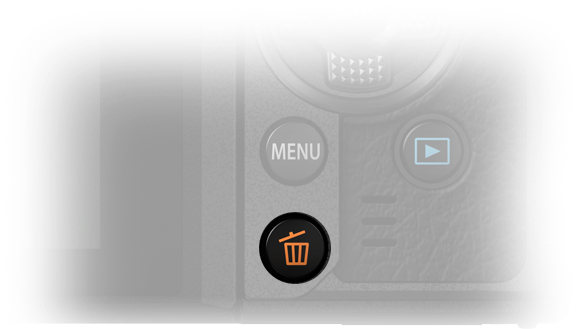
Display an image you wish to delete and then press the Erase button. Select YES with the up or down arrow pad button and press the OK button to delete the image.
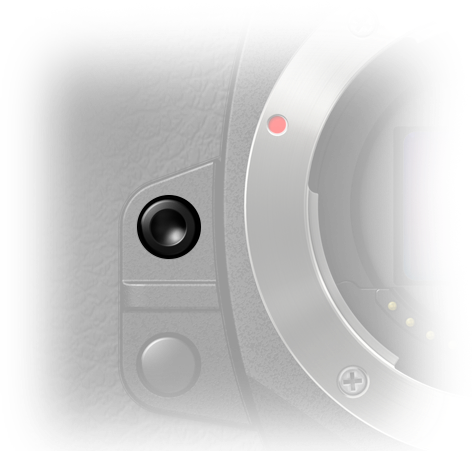
Now back to the front of the camera: the One-touch White Balance button is ideal for adjusting to natural light and many other light sources with different colour temperatures. Frame a white object or piece of paper with no shadows and press the One-touch White Balance button while you shoot. Select the white balance value and shoot your subject.
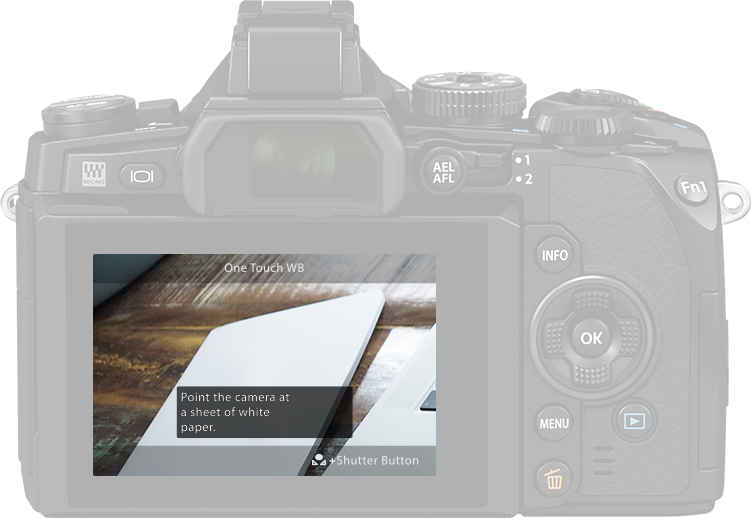
Ensure that white objects in your photo actually appear white in the final image. Frame a piece of paper or other white object under the lighting that will be used in the final photograph.
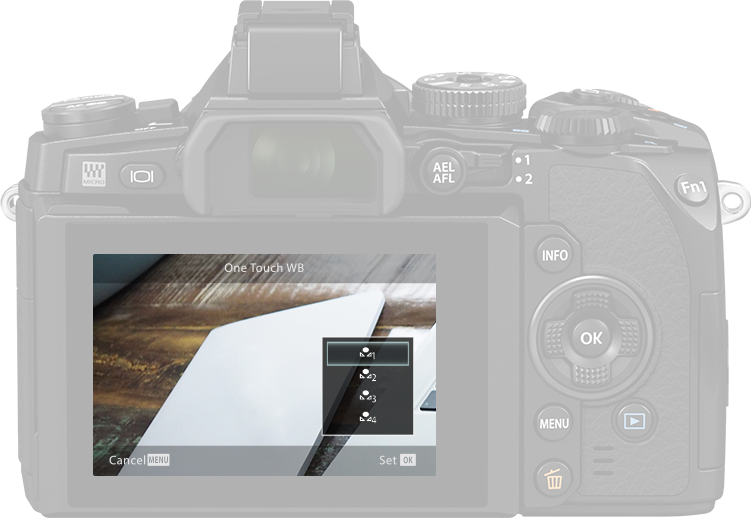
Shoot while pressing the One-touch White Balance button and then select 1, 2, 3 or 4 to register your setting and store it until you reset it in future. The registered white balance will be automatically set as the white balance for the next image.
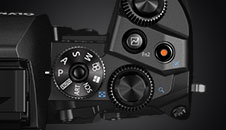
Press the Preview button to view the depth of field before you shoot.
Congratulations! You’ve finished chapter 3!
Let's get started
1 - Exchange lenses
Learn about dials
6 - Setting mode
Control your camera
7 - Symbols in the EVD/LCD
Connect with Wi-Fi
10 - How to set up Wi-Fi