OM-D E-M1 Quick Guide
Let's get started
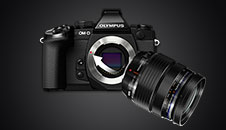
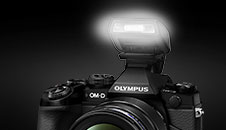
1 - Exchange lenses
Learn about dials
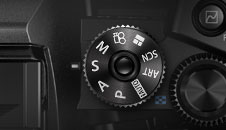
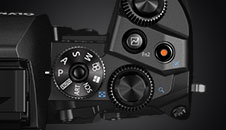
6 - Setting mode
Control your camera
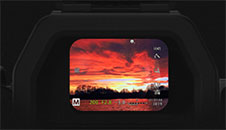
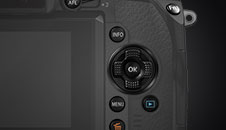
7 - Symbols in the EVD/LCD

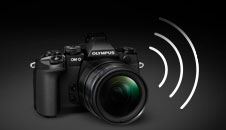
Connect with Wi-Fi
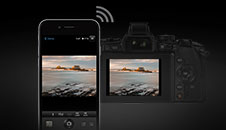
10 - How to set up Wi-Fi
-
Chapter 4: Connectors
Get to know how to connect your camera with your devices.
-

-
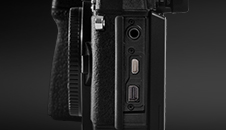
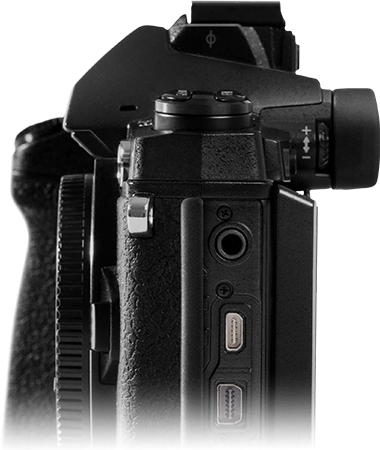
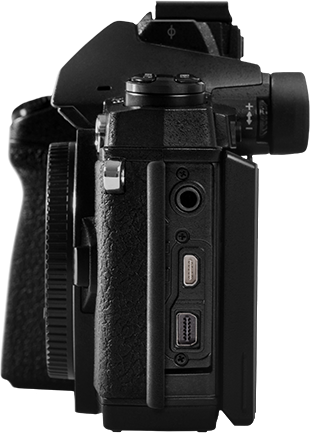
Open the rubber cover
On the left-hand side of the camera, open the rubber covers to access the microphone, HDMI and multi connectors.
-
-
Connect your camera (microphone)
Connect an external microphone to your camera via the 3.5mm mic socket to give your video sound an extra boost during filming. When the external microphone is connected, the built-in stereo microphone is turned off.
-

-
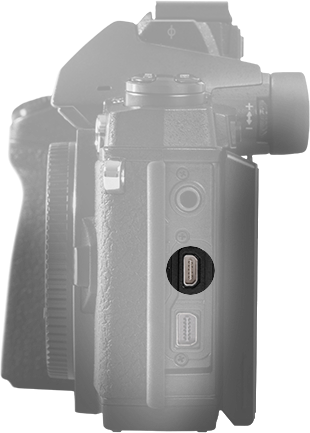
Connect your camera (TV)
Use the separately sold cable with the camera to play back recorded images on your TV. Connect the camera to an HD TV using an HDMI cable to view high-quality images on a TV screen. You can also connect your camera to a conventional TV via the multi connector with an AV cable.
-
-
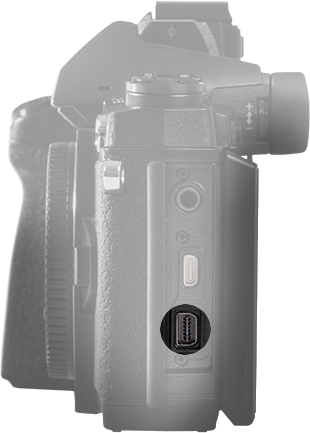
Connect your camera (PC)
Connect your OM-D E-M1 to a Mac or Windows-compatible PC via USB 2.0 and enjoy using the advantages of “tethering”. Tethering refers to controlling your camera from a computer. Once you’ve installed OLYMPUS CAPTURE, the tethered shooting system software from OLYMPUS, connect your camera to your computer via USB 2.0. All camera controls are available through OLYMPUS CAPTURE.
(The software is compatible with popular studio workflow applications from Adobe® and Phase One®. Using the USB 2.0 connection, you can also transfer your still shots and movie files to a computer, even without OLYMPUS CAPTURE.)
-
Congratulations! You’ve finished chapter 4!
Table of contents
Let's get started
1 - Exchange lenses
Learn about dials
6 - Setting mode
Control your camera
7 - Symbols in the EVD/LCD
Connect with Wi-Fi
10 - How to set up Wi-Fi