

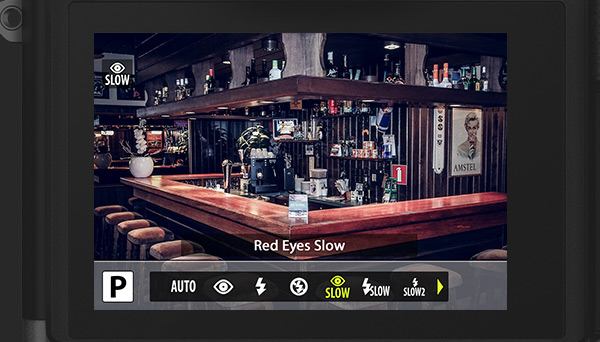
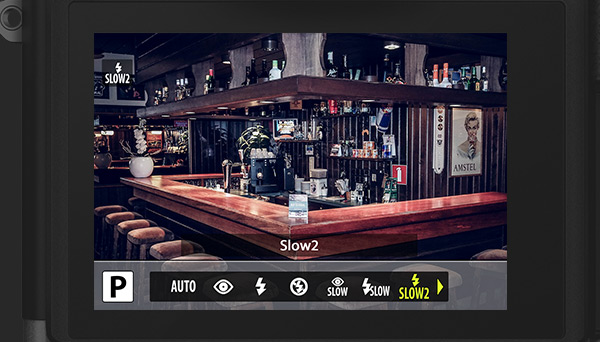
SLOW synchronisation slows the shutter speed to brighten dimly-lit backgrounds or can be combined with red-eye reduction.
OM-D E-M10 Mark II Quick Guide
Let's get started
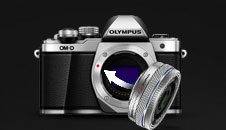
1 - Exchange lenses
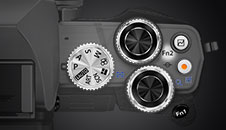
Learn about dials

6 - Setting mode
Control your camera
7 - Symbols in the EVD/LCD
Connect with Wi-Fi
10 - How to set up Wi-Fi
-
Chapter 5: Flash
Discover how to use your E-M10 Mark II’s built-in flash and various flash settings, or how to attach an external flash.
-

A
A
-
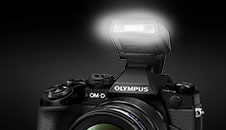
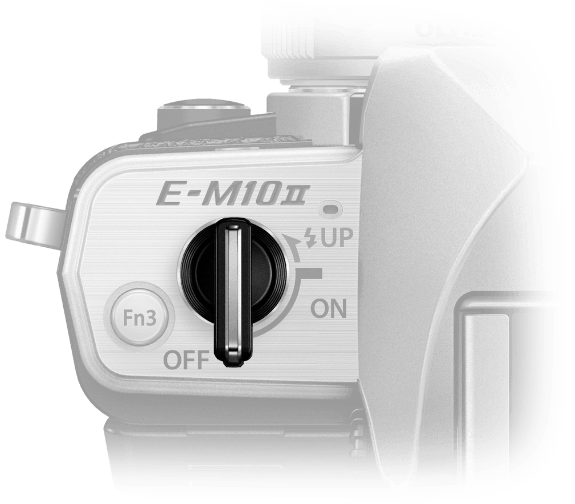
Open the flash unit
Rotate the ON/OFF lever to UP to pop up the built-in flash unit.
-
B
B
-
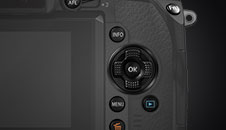
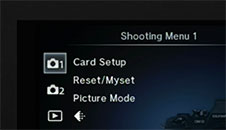
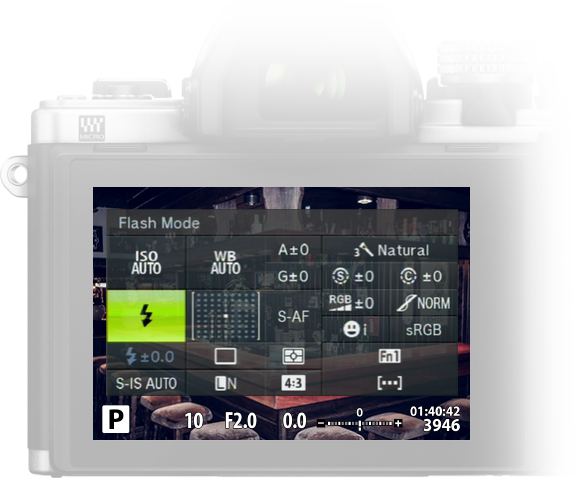
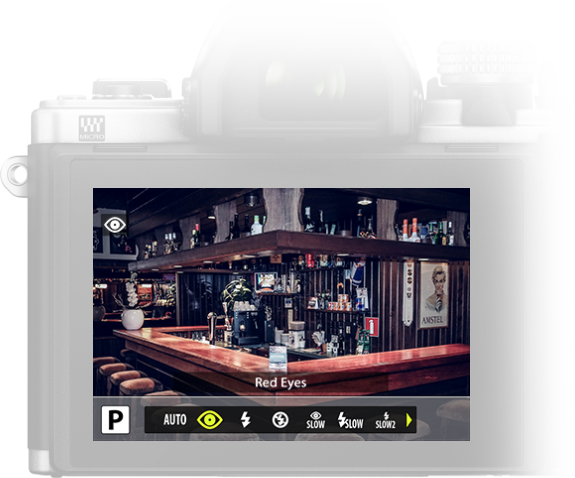
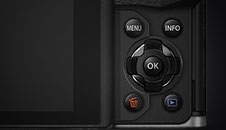
Select a flash mode
Press the OK button to select your preferred flash mode, either when using the viewfinder or when using Live View.
-
C
C
-
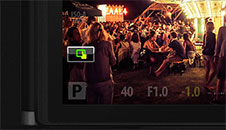
Select a setting
Using the front dial, select one of eight flash settings such as auto flash, red-eye reduction and slow synchronisation. Then press the OK button when shooting using the viewfinder.
-
D
D
-
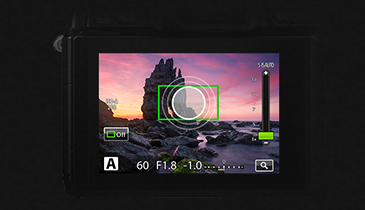
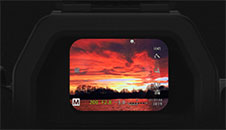
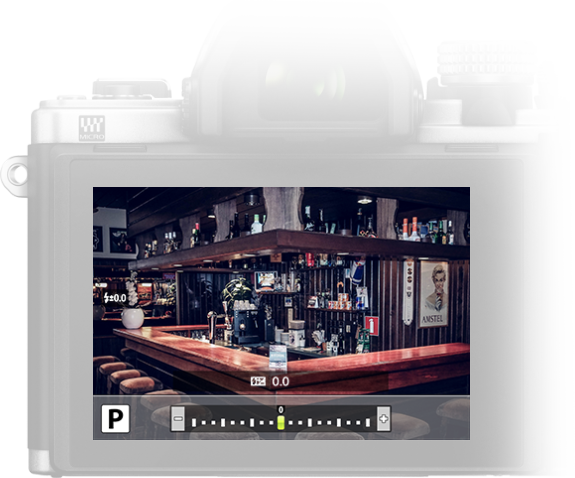
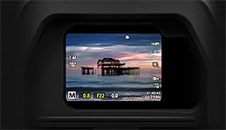
Adjust flash output
The flash output can be adjusted if you find that your subject appears overexposed or underexposed. Press the OK button and select a flash intensity control item using the rear dial. Then select a flash compensation value using the front dial and press the OK button.
-
E
E
-
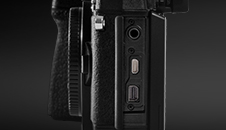
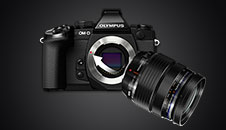
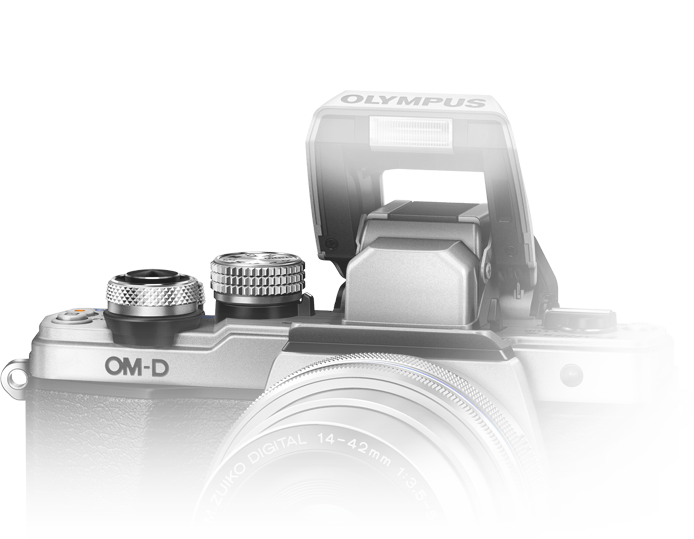
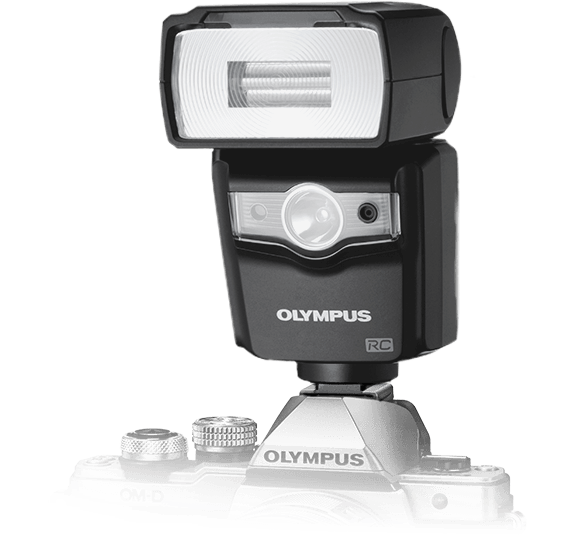
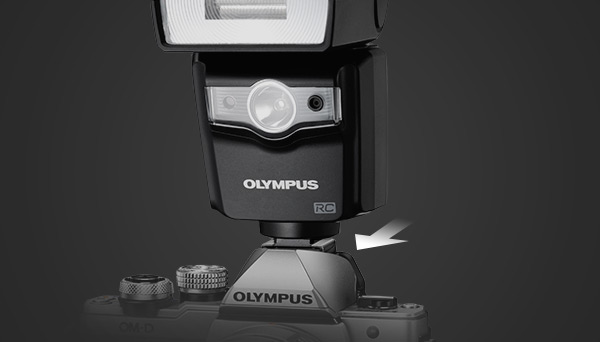
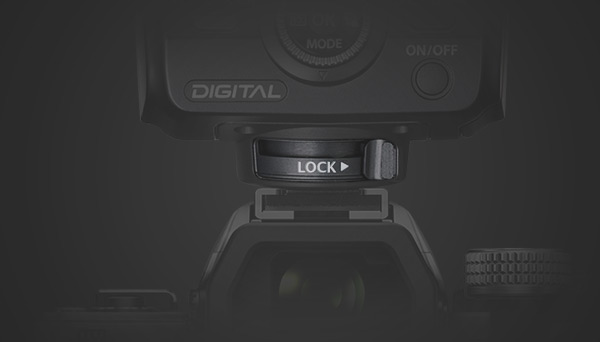
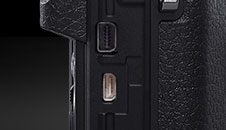
External flash
You can also attach an external flash to the E-M10 Mark II via the built-in flash hot shoe.
-

Congratulations! You’ve finished chapter 5!
Table of contents
Let's get started
1 - Exchange lenses

Learn about dials

6 - Setting mode
Control your camera
7 - Symbols in the EVD/LCD
Connect with Wi-Fi

10 - How to set up Wi-Fi