
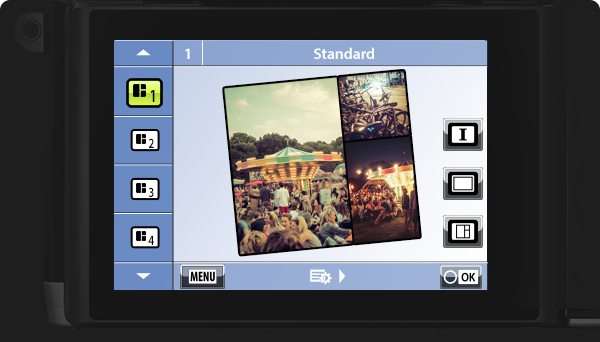
Rotate the mode dial to the Photo Story icon and then use the up and down arrow buttons to choose the theme. Press the right arrow button and then the up and down arrow buttons to choose a variation.
OM-D E-M10 Quick Guide
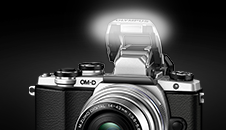
Let's get started
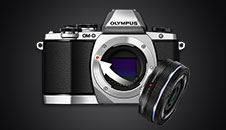
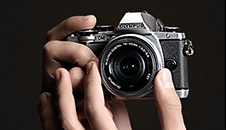
1 - Exchange lenses
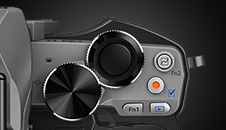
Learn about dials
6 - Setting mode
Control your camera
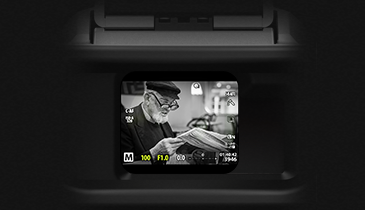
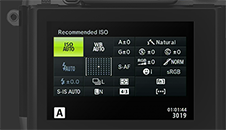
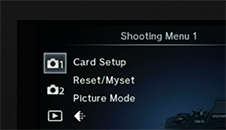
7 - Symbols in the EVD/LCD
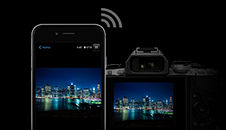
Connect with Wi-Fi

10 - How to set up Wi-Fi
-
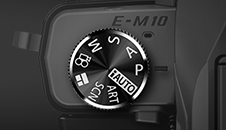
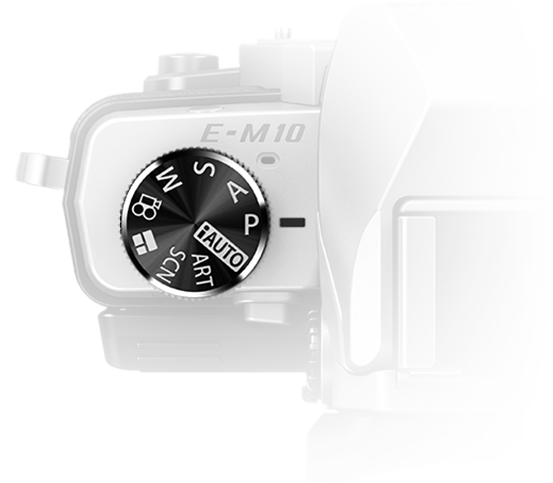
Chapter 6: Shooting mode selection
Turn the mode dial to select the shooting mode. Please read on for details about the different modes.
-

A
A
-
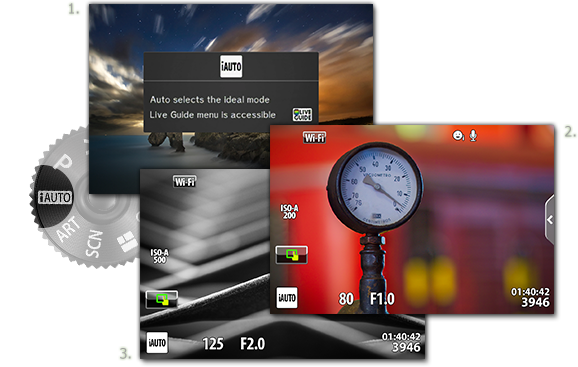
iAUTO program for care-free photography
In the full auto mode iAUTO, the camera automatically optimises all settings for the current scene. The camera does all the work – making it ideal for getting started with your E-M10.
-
B
B
-
ART mode – unleash your creativity
Choose the ART mode to select art filters and give your images a unique look and feel. The art filters give you enormous creative scope in-camera. You can select from a broad range of filters, which can also be modified in-camera. In addition, you can add effects such as Soft Focus, Grainy Film, Pin Hole and 10 more.
-
C
C
-
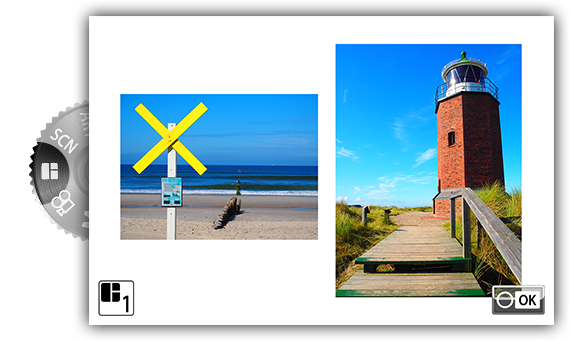
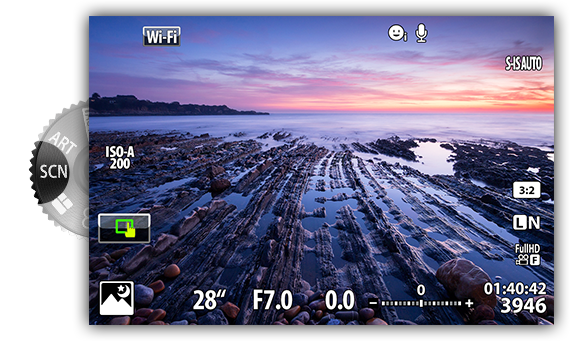
SCN mode for long exposures
Select a scene according to the subject and quickly match settings to a particular scene. The 24 types of Scene modes include Portrait, Sport, Night Scene, Macro and 3D Photo.
-
E
E
-
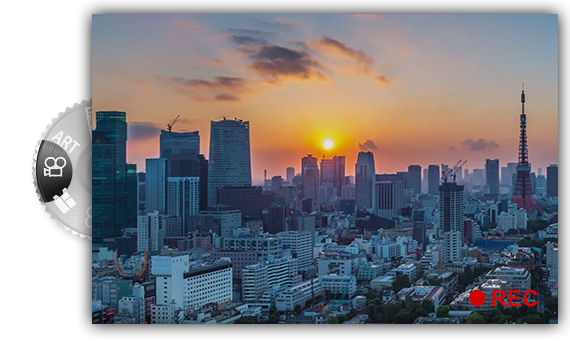
Movie mode
Shoot movies in Movie mode and use special effects available in still photography mode for added creativity. You can also apply an after-image effect or zoom in on an area of the image during movie recording.
-
F
F
-
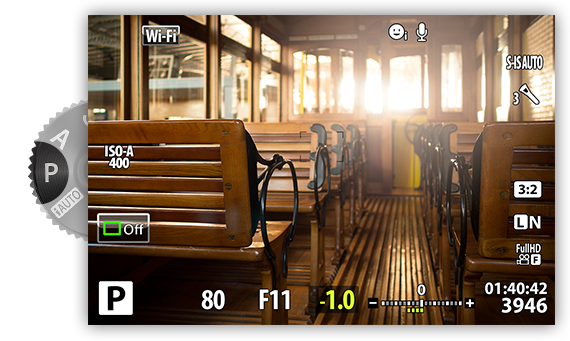
P mode – for easy exposure control
Ideal for point-and-shoot photography: aperture and shutter speed are automatically adjusted according to subject brightness. With the P mode’s Program Shift function, choose different combinations of aperture and shutter speed with the rear dial, without altering exposure.
-
G
G
-
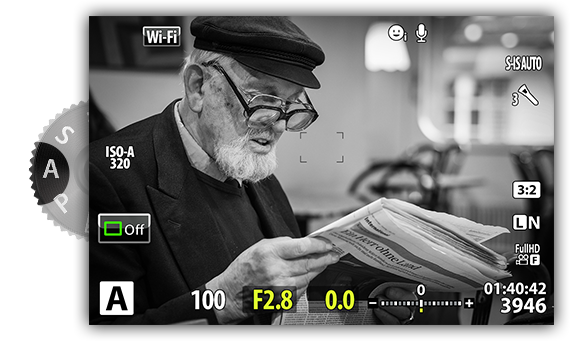
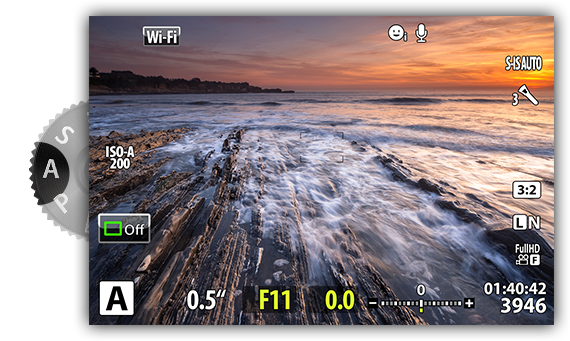
A mode – for aperture control
In aperture mode A, you control aperture – so you can sharpen or soften background details. Lower f-numbers decrease depth of field to soften background details, and higher f-numbers increase depth of field with more details remaining sharp in front and behind the subject.
-
-
1
-
2
H
H
-
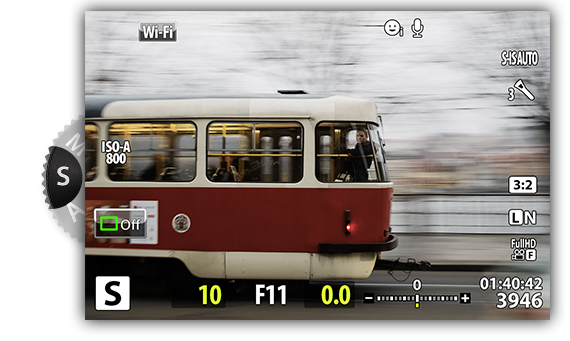
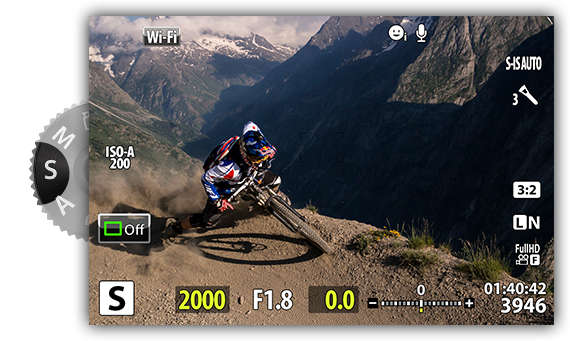
S mode – for shutter control
In shutter mode, you control shutter speed to freeze motion or add blur. A slow shutter speed will blur a fast-action scene, adding a dynamic feel to your action shots. A fast shutter can freeze fast action for shots rich in detail.
-
-
1
-
2
I
I
-
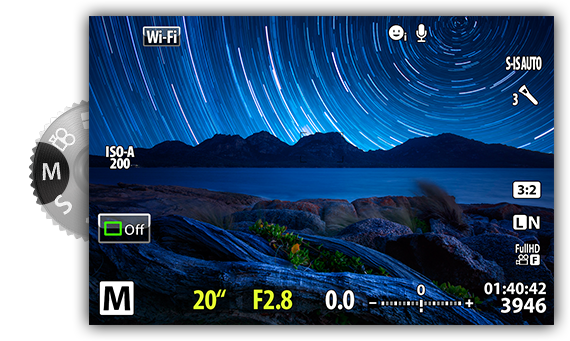
M mode – for manual control
You control both aperture and shutter speed in manual mode – ideal for long exposures of fireworks or other dark scenes. Use the M mode for Bulb Time and Live Composite photography where the image builds up over a longer period of time, e.g. with fireworks or star trails. Use a sturdy tripod and remote release for best results.
-
Congratulations! You’ve finished chapter 6!
Table of contents
Let's get started
1 - Exchange lenses
Learn about dials
6 - Setting mode
Control your camera
7 - Symbols in the EVD/LCD
Connect with Wi-Fi
10 - How to set up Wi-Fi