
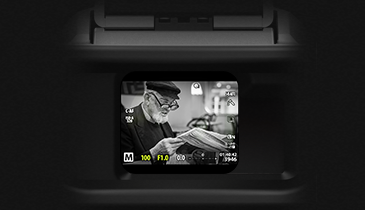
Image only view
View the final image before shooting, enhanced by improving the distribution of brightness and ensuring the camera is level.
Let's get started
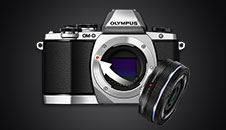
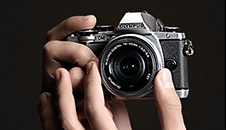
1 - Exchange lenses
Learn about dials
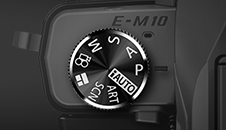
6 - Setting mode
Control your camera
7 - Symbols in the EVD/LCD
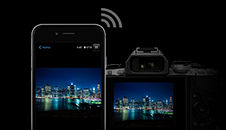
Connect with Wi-Fi

10 - How to set up Wi-Fi
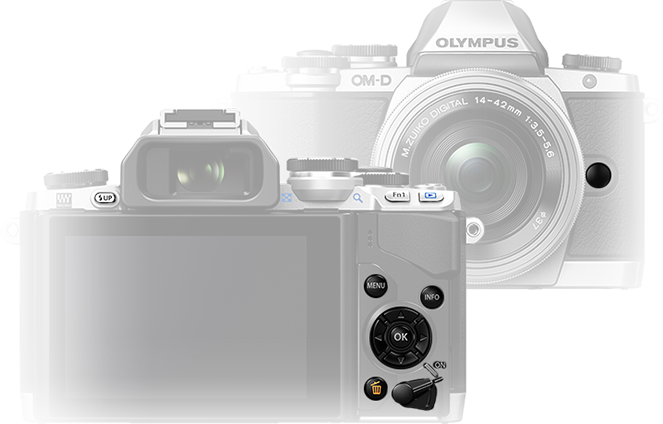
Chapter 3: Buttons front/back
Get to know how to use the buttons on the front and back of your camera with this quick overview.
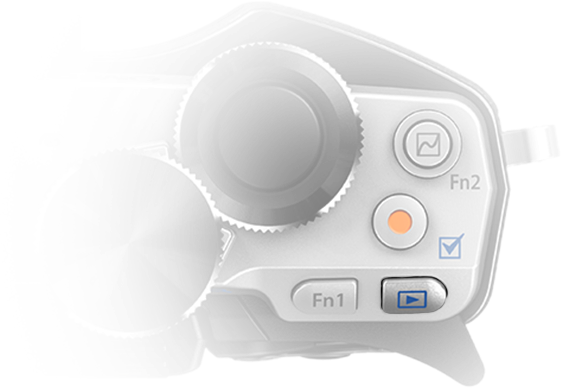
Press the function button Fn1 to zoom in on the current image or display a zoom movie frame. Rotate the rear dial to change the zoom ratio and the front dial to select between images.
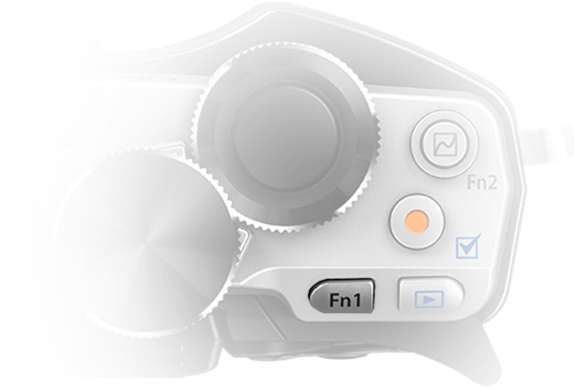
Press the Playback button to view your movie or photo. Use the arrow pad to select further photos or movies you wish to view.
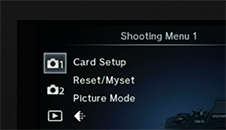
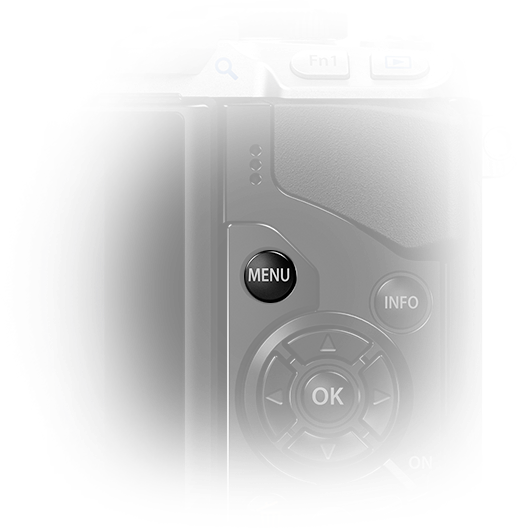
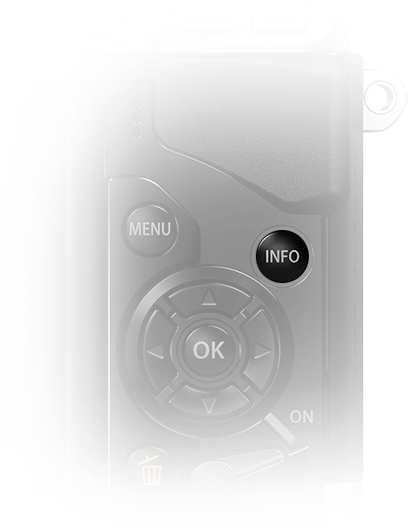
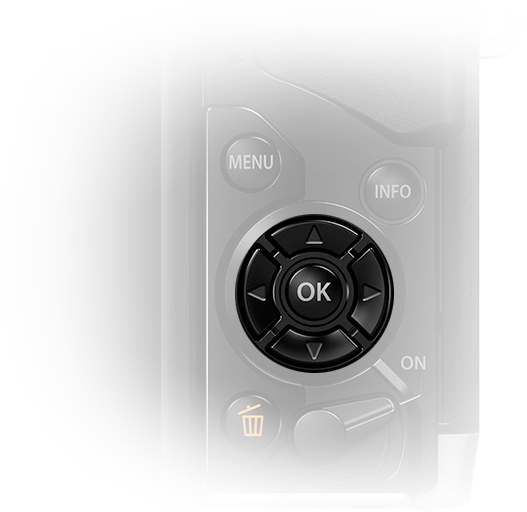
Press the Menu button to display the menus. Use the arrow pad and OK button to select options and camera settings. The menus contain shooting and playback options not displayed by the live control and let you customise your camera settings for easier use.
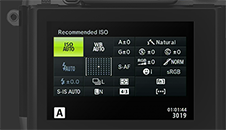
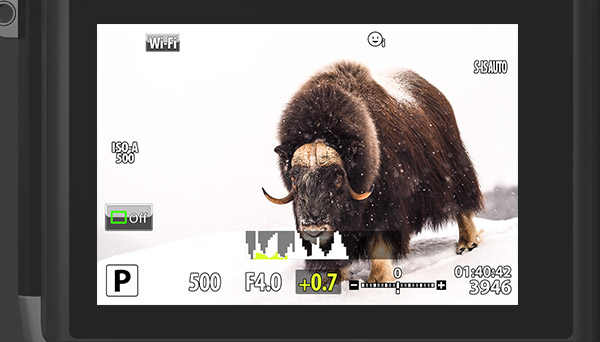
Use the Info button to switch the information displayed when either shooting through the viewfinder or using Live View. For example, choose between information, histogram, level gauge or image only display. During playback, switch the information displayed in the monitor by pressing the INFO button to display image only, display image and simplified information or to display image and detailed information.
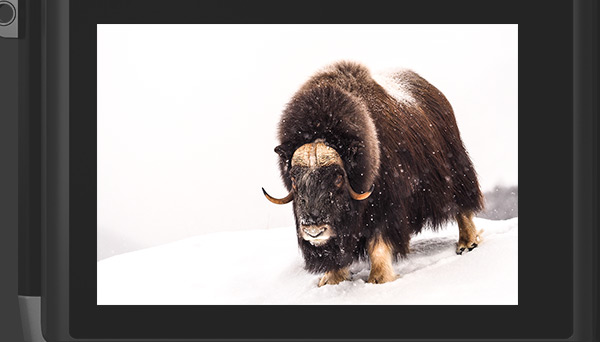
View the final image before shooting, enhanced by improving the distribution of brightness and ensuring the camera is level.
Display a histogram of your photo showing the distribution of brightness. Areas above the upper limit at shooting are displayed in red, those below the lower limit in blue, and the area metered using spot metering in green.
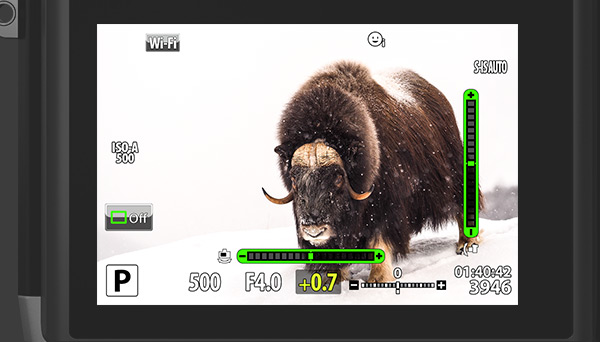
Know if the camera is level or not with the level gauge as a guide. The “tilt” direction is indicated on the vertical bar and the “horizon” direction on the horizontal bar.
Select menu options by pressing the up or down arrow pad buttons, and then to select YES/NO. Press OK to select and view options. Use the left and right arrow pad buttons to move sideways and select other options, followed by pressing the OK button. Select the pictures/movies you wish to view in Playback mode with the arrow pad and OK button.
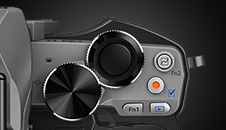
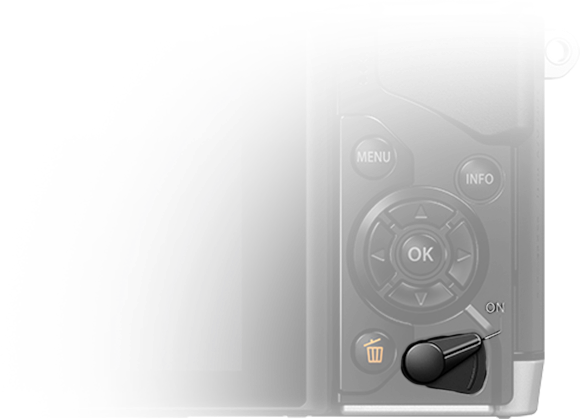
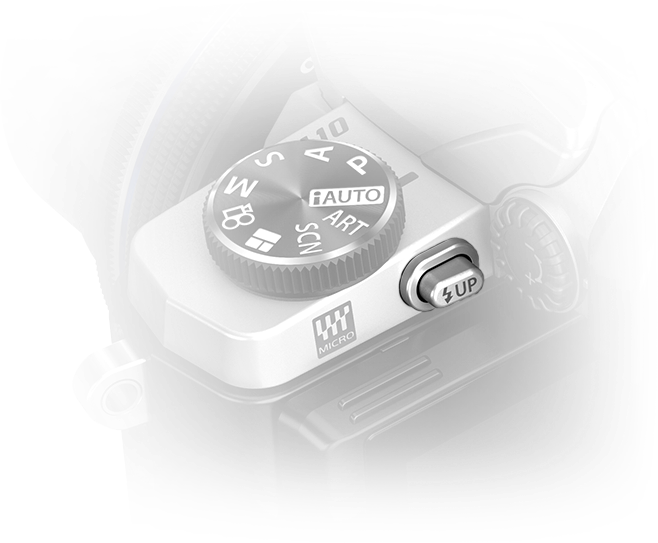
Move the ON/OFF lever to the ON position to turn on the camera. The monitor will automatically turn on too. To turn off the camera, lower the lever.
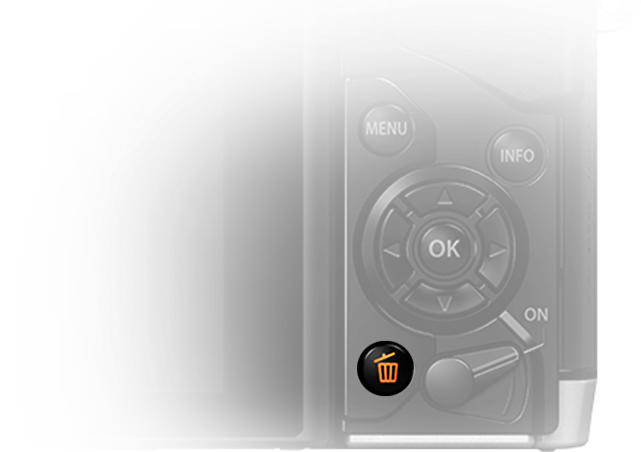
Display an image you wish to delete and then press the Erase button. Select YES with the up or down arrow pad button and press the OK button to delete the image.
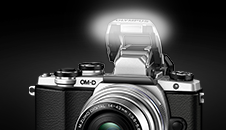
Press the flash switch to pop up the built-in flash unit.
Congratulations! You’ve finished chapter 3!
Let's get started
1 - Exchange lenses
Learn about dials
6 - Setting mode
Control your camera
7 - Symbols in the EVD/LCD
Connect with Wi-Fi
10 - How to set up Wi-Fi