
Backlight shining right into your lens and illuminating your scenery in a creative way is one of the most difficult and yet one of the most artistic things in underwater photography. Let’s have a look at how you can use backlight at its best.
Underwater light has a magical effect. The reason for that are the water molecules which make this element as much as 760 times thicker than air. In addition, there are tiny particles, not much bigger than the water molecules themselves, that are directing the light as rays through the water. This physical procedure is called “Tyndall effect”. Without this effect, there would be no light beams in the ocean, no laser like illuminations in the fresh water and no spotlighting in the swimming pools of the world. The flash would become “the blunt sword” of the exposure process. LED lights would be rather boring as their light would melt with the water molecules in a disharmonic and flat way. Good artificial lighting needs natural particles. And they must be too small to be visible to the human eye – that’s the ideal situation.

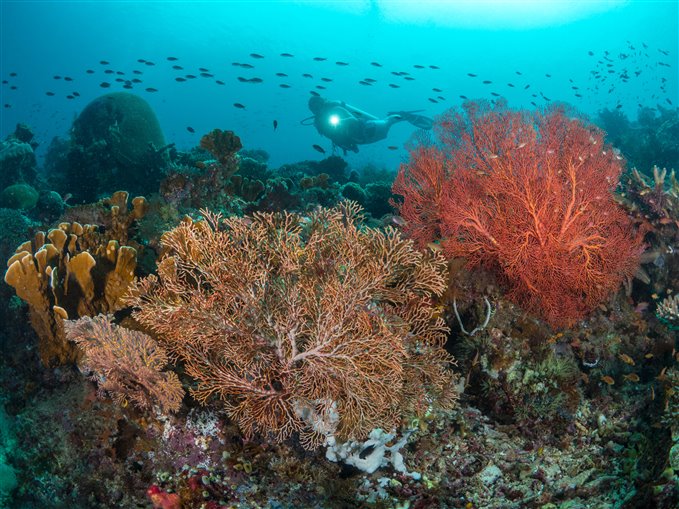
Herbert Frei • PEN E-PL7 • M.Zuiko Digital ED 14-42mm f3.5-5.6 EZ Pancake
• PT-EP13 • 14mm • 1/200 • f16 • ISO 200
Exposure against the sunlight
Usually, backlight is defined as light shining into the lens from above or the front. Underwater, light coming from or near the direction of your photo object can create a very artistic character for your photographs. But how can you successfully take such pictures? And most of all: How can your sensor handle this amount of light?
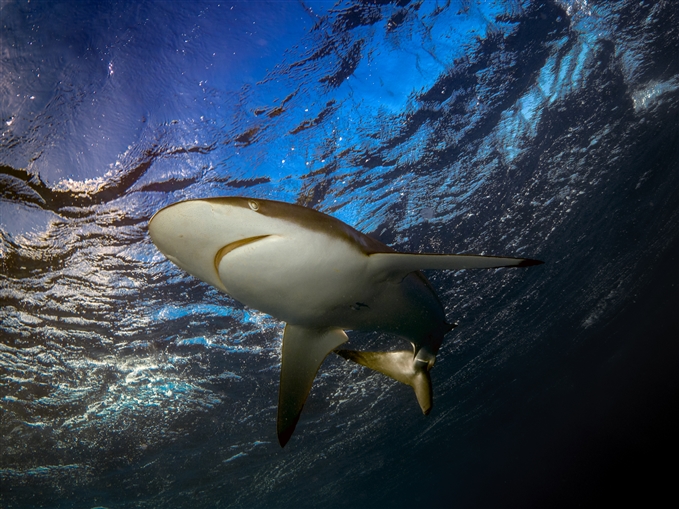
If you point your camera towards the sun, your photo objects will turn into silhouettes. The effect created by that can often turn out phenomenal, for example when shooting sharks, whales, dolphins or people this way. Ideally, you should use a strong wide-angle lens to do so – the image angle should be at least 100 degrees, which can also be reached with a compact camera and a respective wide-angle converter. Some attachments even reach up to 120 degrees, so it is not absolutely necessary to shoot with a CSC or SLR. The exposure for silhouettes can easily be left to the automatic programme mode or automatic aperture control. It is recommendable to expose in JPEG or RAW format so that further editing and exposure corrections can be done. This can become necessary if the sun was under- or overexposed as it’s not always possible to capture your object in the exact centre of the sun. But that’s not a bad thing because the desired effect will only occur once the sunlight breaks at the edges of your photo object. If the sun is directly shining into the lens, it will seem extremely whitewashed. Around the centre of light, you will sometimes find a green corona and the sun itself will just appear as a white spot in the middle.
Direct sunlight is, by the way, not compatible with high ISO values, low shutter speed settings or high aperture. This is why compact cameras sometimes struggle under these conditions as their aperture cannot be lowered as much. So, you should not exceed ISO values of 200 when using them, at least in a depth of up to 20 metres. When shooting in shallow water, ISO 100, a high shutter speed and a medium or small aperture are to be recommended. What is more, is that the transparency of the water also has to be taken into account. When shooting in a dark green lake within a forest, for example, you should, of course, use ISO values of around 400 when setting out for your photo mission.
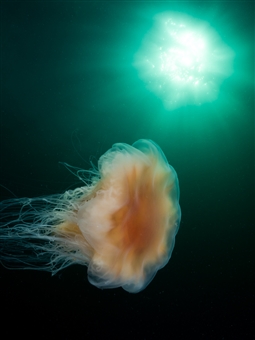
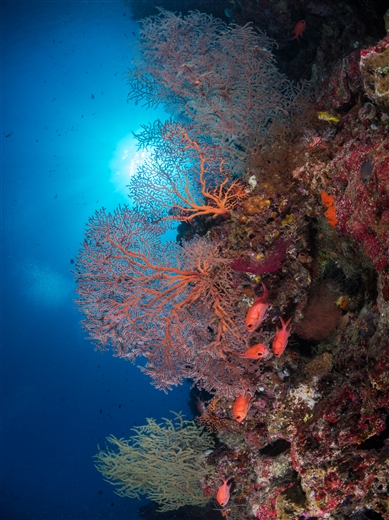
Herbert Frei • OM-D E-M5 • M.Zuiko Digital ED 8mm f1.8 Fisheye PRO
• PT-EP08 • PPO-EP02 • 8mm • 1/30 • f11 • ISO 400
Flashes and the photo subject
Silhouettes are nice. They can also have a stimulating effect on the viewer but they using the flash so that you can disclose the full colour, pattern and structure of your photo subject. As some silhouettes are not really offering a very interesting scenery, artificial light can help to make the picture more fascinating. Using the flash with direct backlight is when it comes to image design with direct sunlight. Many things are to be considered. Among other aspects, the surface can cause some problems as it is often shown too bright on the eventual pictures. It is not always possible or easy to capture it in its natural blue. When close to the surface and when holding the camera quite steeply, the blue sky will often occur white. If this is the case, you will have to reduce the shutter speed or synch speed as much as possible because this is the only way to somewhat control your background light. The ISO value must be low – like ISO 100 or 200 – so that the shortest possible synch speed given by the manufacturer does not reach its limits. Mostly it will be around 1/200 or 1/250 sec. Compact cameras with a central shutter can also reach a synch speed of up to 1/2000 sec. Otherwise you couldn’t – due to the very small sensor and high aperture – control the flow of light on the sensor. When using system cameras, the aperture is also an important factor.

• PT-EP14 • PPO-EP02 • Sea&Sea YS-D2
If the light on the surface is very bright, you will sometimes need to set a small aperture that is still not too small as this might lead to the aperture interfering with the exposure process. As a result, the flash might not be strong enough to illuminate the subject in the backlight. This is a problem not to be underestimated when working with small and light plastic flashes. I know many underwater photographers who have switched to strong flashes from Ikelite, Seacam, or Subtronic for exactly that reason and because even two mini flashes couldn’t lead to the desired success. If the photo subject is flashed at in the foreground or in the direct backlight, the TTL flashes are mostly failing as the automatic flash control recognizes the bright surface light as the standard and does therefore not emit enough light. However, there are a few exceptions. When shooting sharks with TTL flashes you might get a great result because of their white bellies. But such a lucky shot is also dependent on the distance of your object. It is recommendable to get as close as possible to your object with your fisheye lens. But still, a manual flash control is the safest and best option to go with. When shooting fish, half load or quarter load can be enough, dark corals often require the full power of the flash. And as they are stationary, you might as well try different settings.
Juan José Saéz • OM-D E-M1 Mark II • M.ZUIKO DIGITAL ED 8mm 1:1.8 Fisheye PRO
• PT-EP14 • PPO-EP021 • 2 x UFL-3
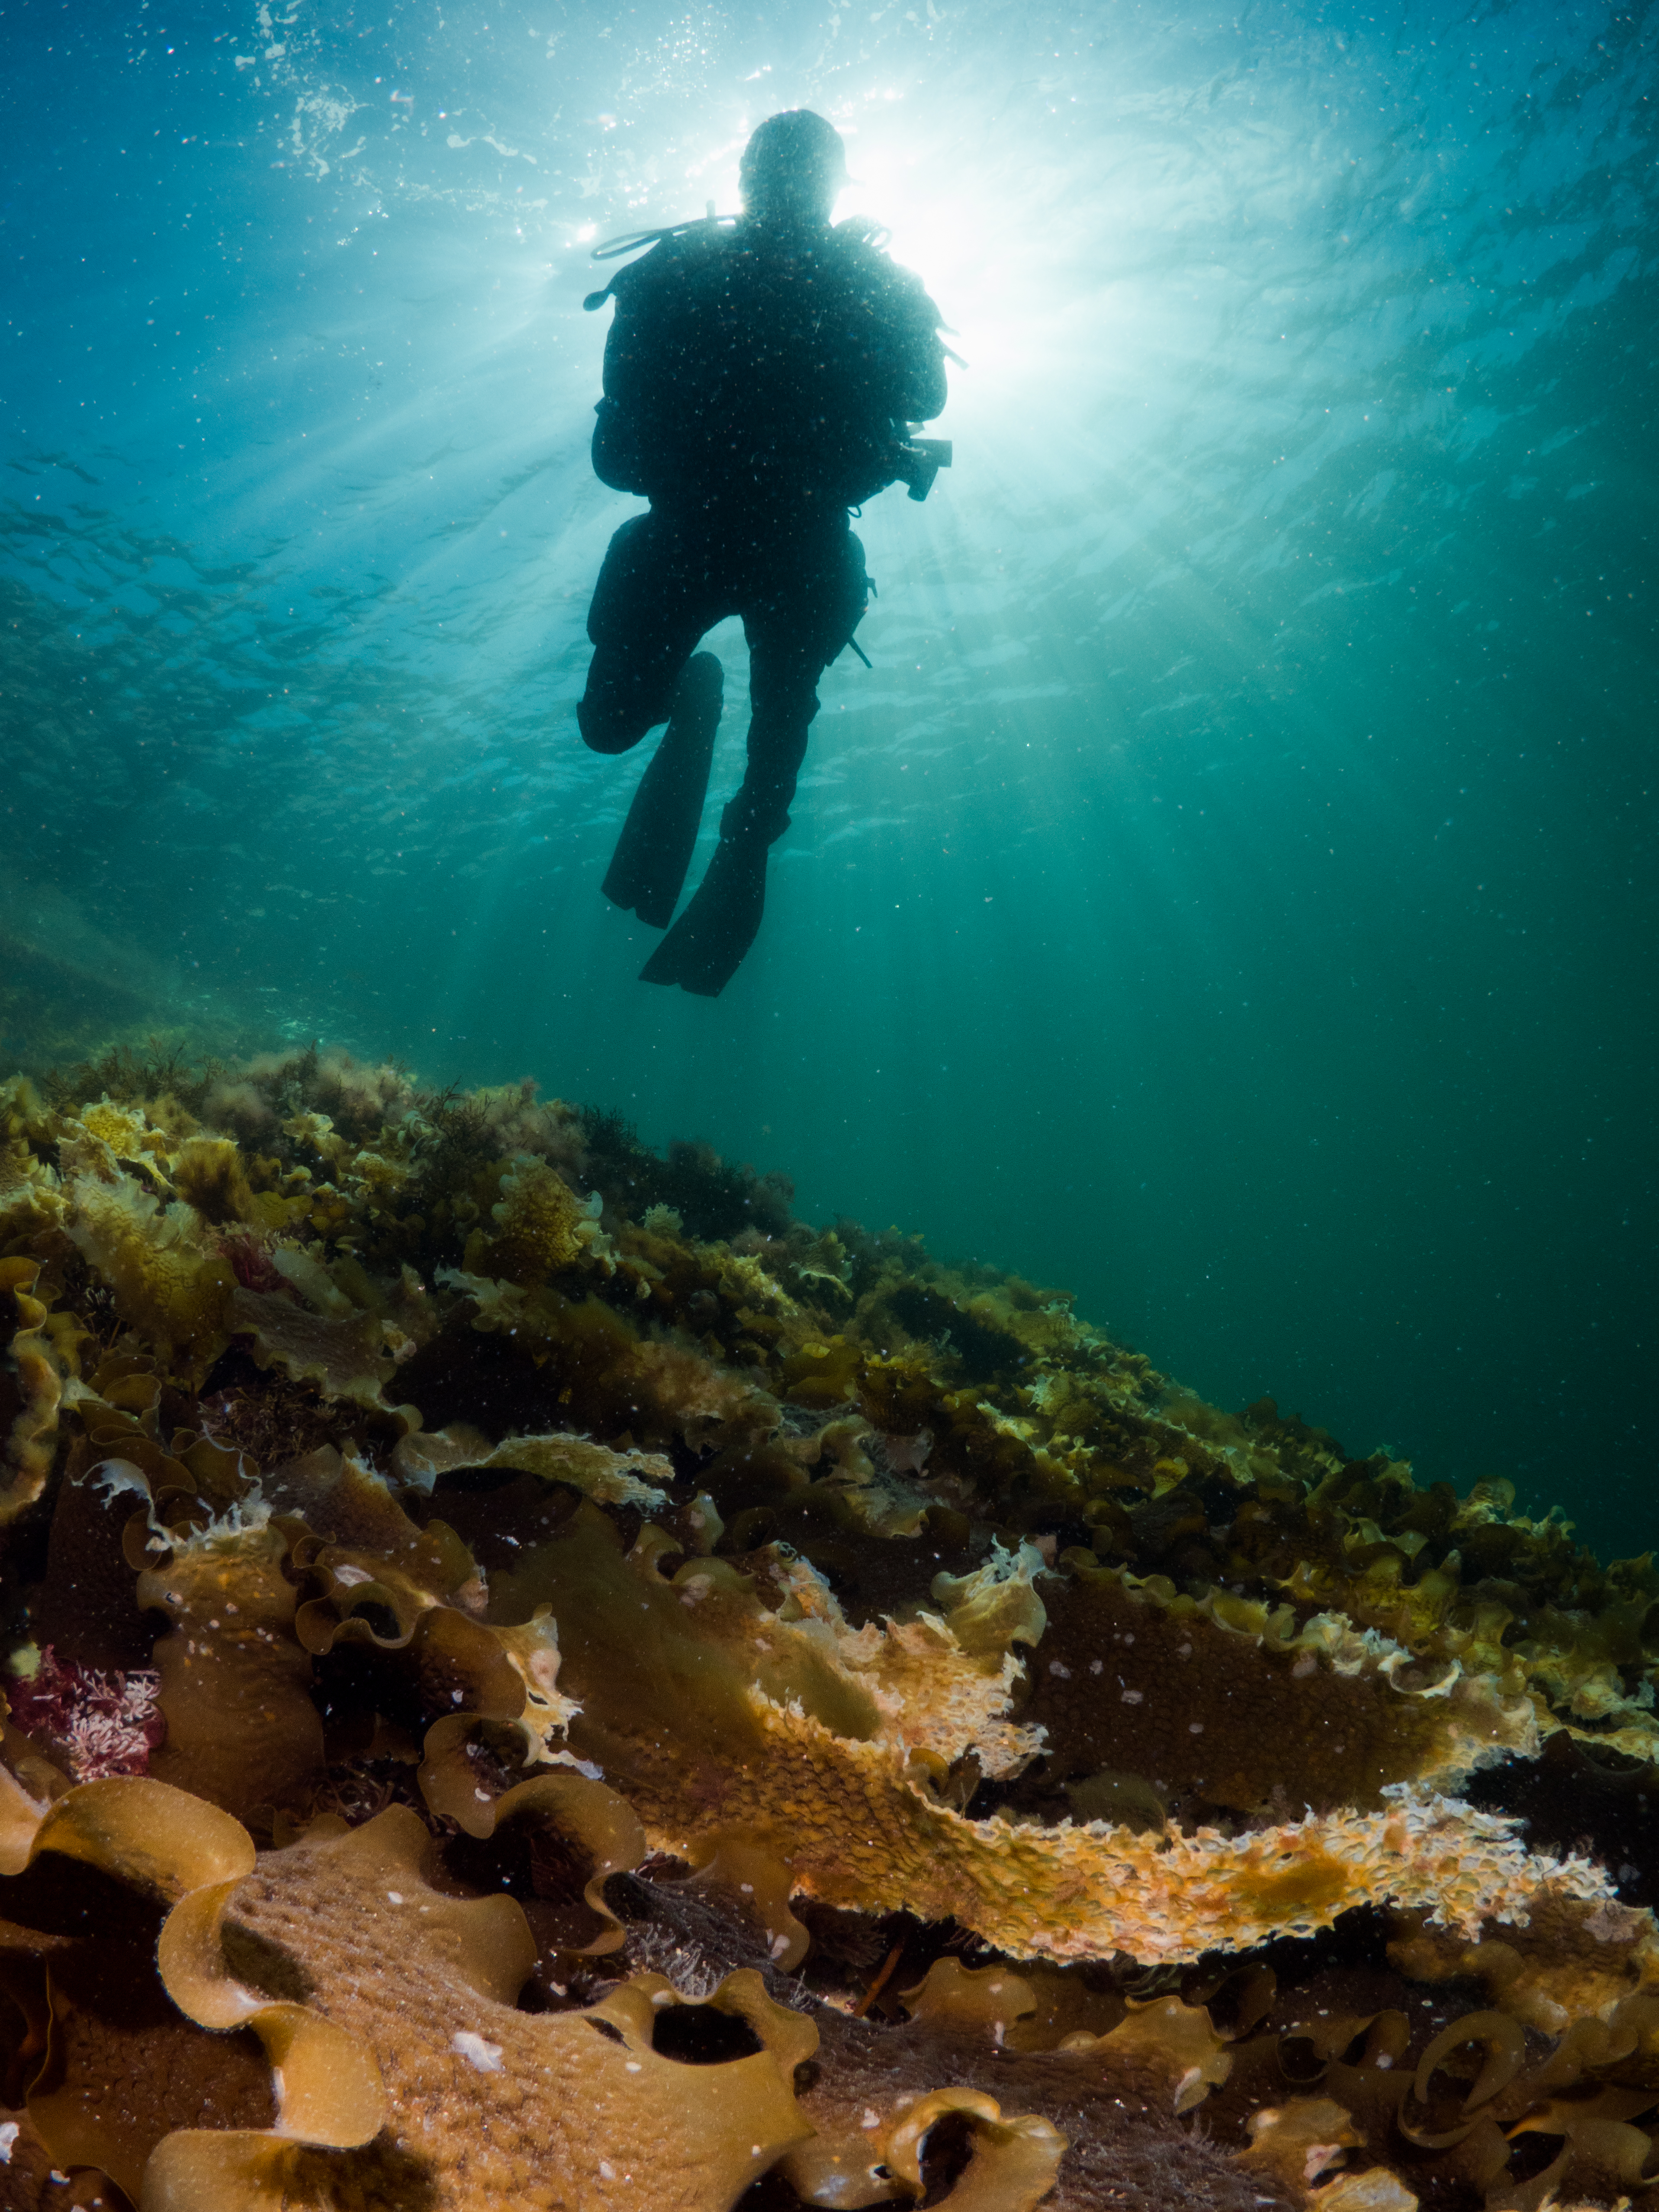
The role of air bubbles
At some point you have to breathe again. This will be the moment when air bubbles are automatically pulled up towards the surface and there is hardly anything you can do about it. In such moments, some experienced underwater photographers hold their breath until the air bubbles have disappeared into the green and blue of the ocean. That needs a little practice. So, at rest, you should be able to at least hold your breath for about a minute. When you are out of breath very easily or if you struggle to keep your position in the current, you will have to live with a few bubbles in your picture. But with the right positioning of your camera you might as well use them on purpose to create a great picture. Air bubbles wrapping your object in the backlight or even covering it beyond recognition are not acceptable, though. Also, you have to consider that air bubbles will – due to the lowering pressure – grow bigger on their way to the surface. At the same time, they will appear smaller on the picture and that is why you need to find just the right timing to capture them nicely. And that’s a process you need luck and experience for. By the way: the normal LED light is not sufficient to illuminate brilliantly lighted backlight subjects at a distance of more than 70 centimetres. If you want to do so, you must invest in LED lights of at least 20.000 lumen – and it will still be difficult to capture objects of especially muted colour.

Ann Karin Matberg • OM-D E-M1 • M.ZUIKO DIGITAL 35mm f3.5mm
• PT-EP11 • PPO-EP01 • 2 x UFL-3
Flashes and the photo subject
When the distance to your object is too long and you cannot work with artificial lighting, black and white photography comes into play. And it doesn’t really matter whether you directly shoot in black and white or edit your pictures afterwards. I recommend saving the photographs both in the JPEG and the RAW format as this will make it easier to look at the picture as it really was. The RAW converter software will allow you to switch between black and white and the colourful version so that you may decide later which one you like best. Black and white pictures push backlight photography to a new limit that is hardly possible in the normal colour mode. The grayscale mode will help the eye to totally focus on the photo object. Monochrome photos seem more forceful and reduced to the important things as they are not designed by the colours but by light and shadow. Since we usually see colours, black and white photographs seem less real and therefore more artistic and exciting.
David Benz • E-M1 Mark II • M.Zuiko Digital ED 8mm f1.8 Fisheye PRO
• PT-EP14 • PPO-EP02
Frontal lamplight
If you are shooting with partners, you will probably know situations in which you are confronted with direct frontal lamplight. Some amateur models point the LED directly into the lens, as a result of which you will only see a white spot. The diver himself will only be visible very dimly. Underwater photographers do not consider these situations backlight photography. And yet they are, as in backlight photography, it doesn’t really matter whether the light reaches the lens from the sun or an artificial source. LED lamps, also those installed at the camera, should not directly shine into the picture. This will result in overexposure, even if the light intensity is throttled. It is highly recommendable to remind the divers beforehand to hold the lamps in a low and slightly sideward position. Indirect lamplight is especially important when shooting without artificial lighting such as flashes. And a light beam breaking through the water can look rather impressive. But frontal lamplight can also be problematic when illuminating the front of your scene. It has to be considered that LED backlight can only take its real effect when you combine different types of light in your picture: You need to be able to identify the colour of the water in the background. LED can also be used nicely to illuminate a shoal of fish.
10 guiding principles for backlight photography
- Backlight is emotional. Try to play with light and shadow and always make sure to work correctly and properly.
- Avoid air bubbles in your pictures. Try to hold your breath until you’ve taken your picture.
- Don’t use TTL automatic flash control with backlight. Set your flash manually.
- The flash should come with a UW guide number of at least 8 at full power, otherwise dark objects cannot be illuminated sufficiently in the backlight.
- If your flash is small and weak, you need to use two flashes. Rather it is recommended to use a very strong flash unit.
- Don’t be afraid of black and white photographs. When looking at pictures in grayscale, the eye can usually tolerate more contrasts (bright and dark colours as well as highlights) than with colourful photographs. Moreover, black and white photos seem more artistic.
- Fish are quite hard to capture in the backlight. But if you manage to get a great shot, you will have a top shot for your portfolio.
- Shooting silhouettes can easily be done in automatic mode (automatic aperture mode or programme automatic mode).
- Photographers using compact cameras should avoid backlight if using a wide-angle converter since coloured reflexion may appear in the photographs.
- Even top cameras are not well suited for shooting in direct sunlight coming from the corners of the picture.
Be creative and play by the rules – and you will be rewarded with great backlight shots.
David Benz • E-M1 Mark II • M.Zuiko Digital ED 8mm f1.8 Fisheye PRO
• PT-EP14 • PPO-EP02
For more details you may check out the full article in the
German magazine Tauchen/Edition April 2018
Comments
Hallo Herbert,
ein toller Artikel mit vielen Details und tollen Fotos!
sowas liest man gerne!
Gruß Alexander
Show more comments (5)