Here you will find an ever increasing range of articles covering technique and tips on using our cameras and lenses.
For a long time I had been inspired by images and videos of photographers capturing beautiful ice globes forming in front of their cameras. Watching the patterns of ice forming across the bubbles is so mesmerising, and as the stunning colours of autumn begin to fade away, now is the perfect time to get a few things ready for trying out your own ice bubbles.
With winter on the way, there is lots of fun to be had in the upcoming cold and frosty mornings – so keep an eye on the weather and as soon as you see the temperature begin to drop to zero it’s the perfect time to create some magic!
I found that a solution of washing-up liquid or bubble mixture and water worked really well, although there are lots of recipes for bubble mixture online. I’ve also heard of people adding glycerin to the mixture to make the bubble liquid a bit thicker. To increase the chances of the bubbles not popping as soon as they hit the ice, I keep the bubble liquid in the fridge the night before. This way the temperature isn’t too different from the ice outside.
To create the best bubbles, find a nice clear space outside. I have used a table top, or a patch of fresh snow in the past. If you know you’re going to have a spell of frost then you can even make a plan the night before, leave out a thin pool of water, ready to drop a bubble on to it the next day!
I use a tripod just to give my camera that extra bit of stability: it’s quite dark in the morning, and with the shutter speed being very slow to let in as much light as possible, a tripod can really come in handy. Of course there is nothing to stop you using some artificial lighting to really bring out the patterns as well – you can get as creative as you like!
Once you have set up your camera, you need to blow a bubble about 5-6cm in diameter close to where you would like it to land. Sometimes it’s easier to blow it down towards the surface. I have also found that it works a little better if the surface of ice/snow has been warmed slightly: it stops the bubble from instantly popping on impact.
Then it’s time to watch the magic happen!
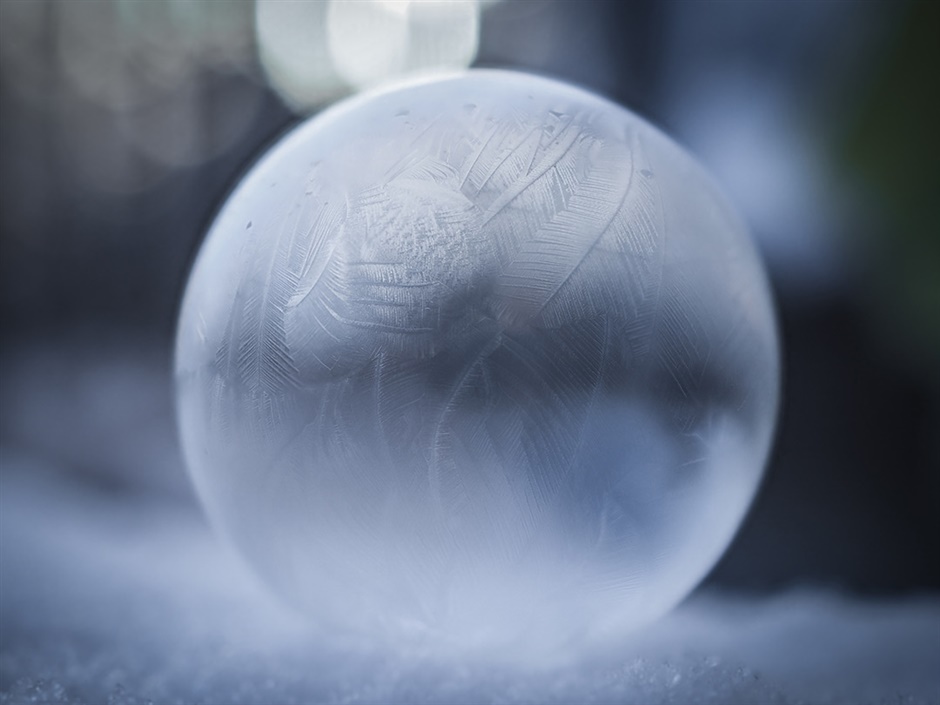
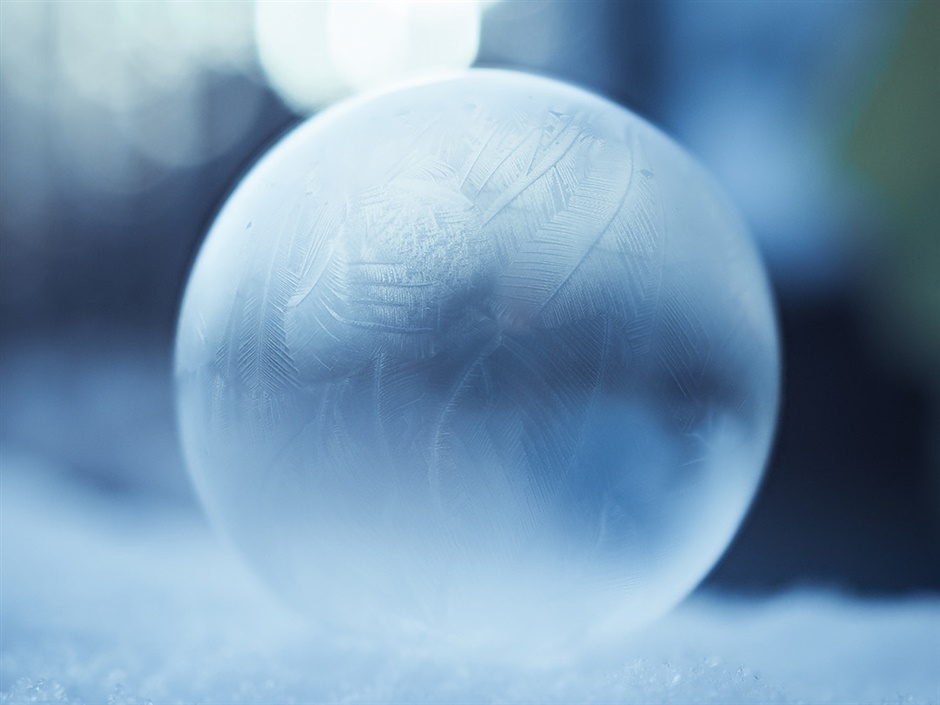
Sometimes watching the bubbles disappear can be just as fascinating as watching the ice patterns form. When the bubble is completely frozen, you could also have a go at popping it! It’s amazing to watch it burst into all the different shapes: using the Pro Capture function on this would create some great images!
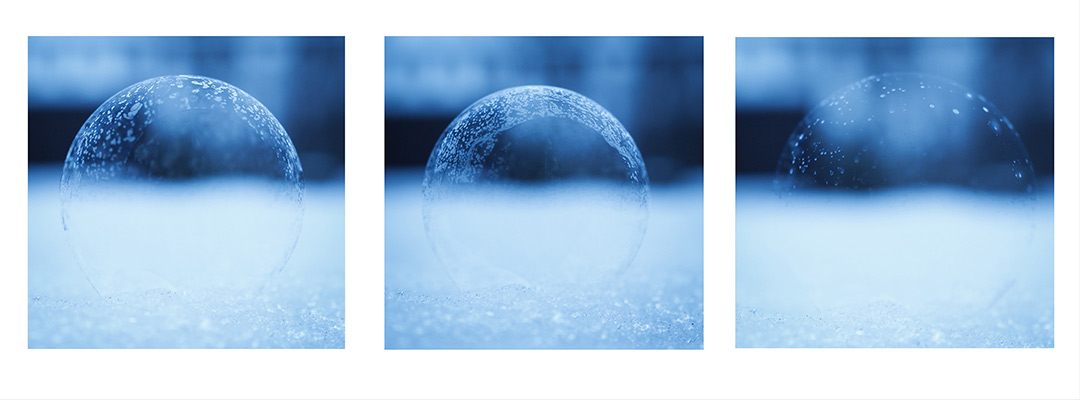
For this collection of bubble photographs I was using the M.Zuiko 30mm Macro lens on my Olympus OM-D E-M1 Mark II. Using the built-in focus stacking capability also helped to get as much of the bubble in focus as possible.
When everything comes together, the results can be amazing! Have patience: patience is key, and don’t forget to wrap up warm! Whether you chose to video the globes, or simply photograph them, watching them form is so beautiful and the perfect winter project. Have fun!
Featured products:
About you

Comments