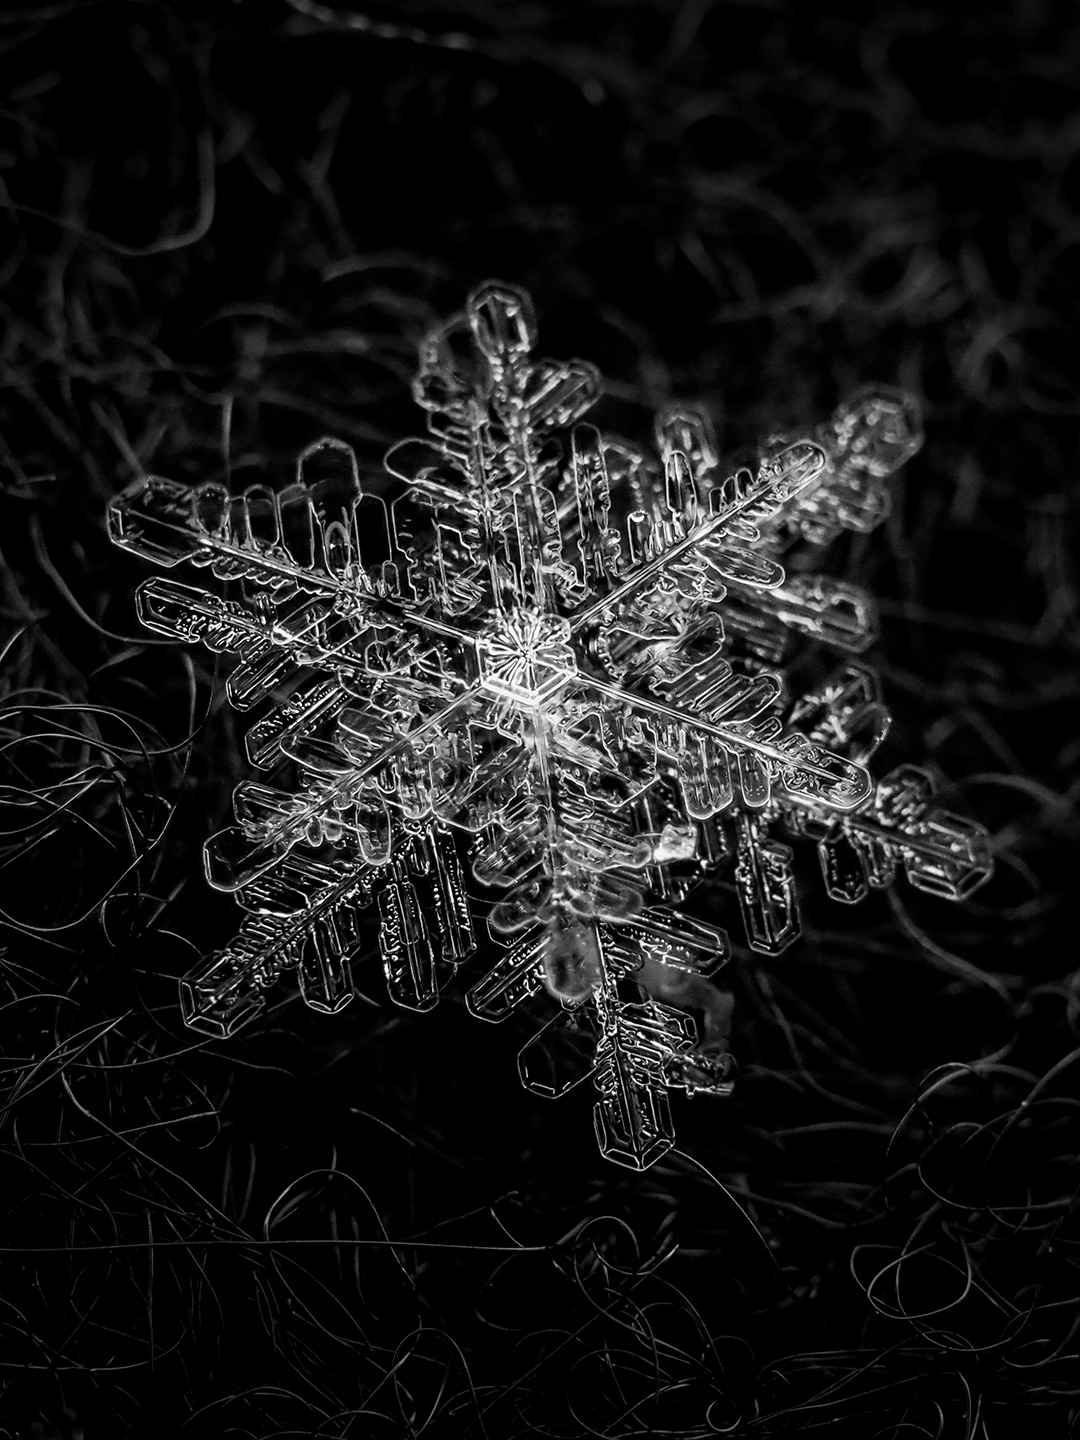
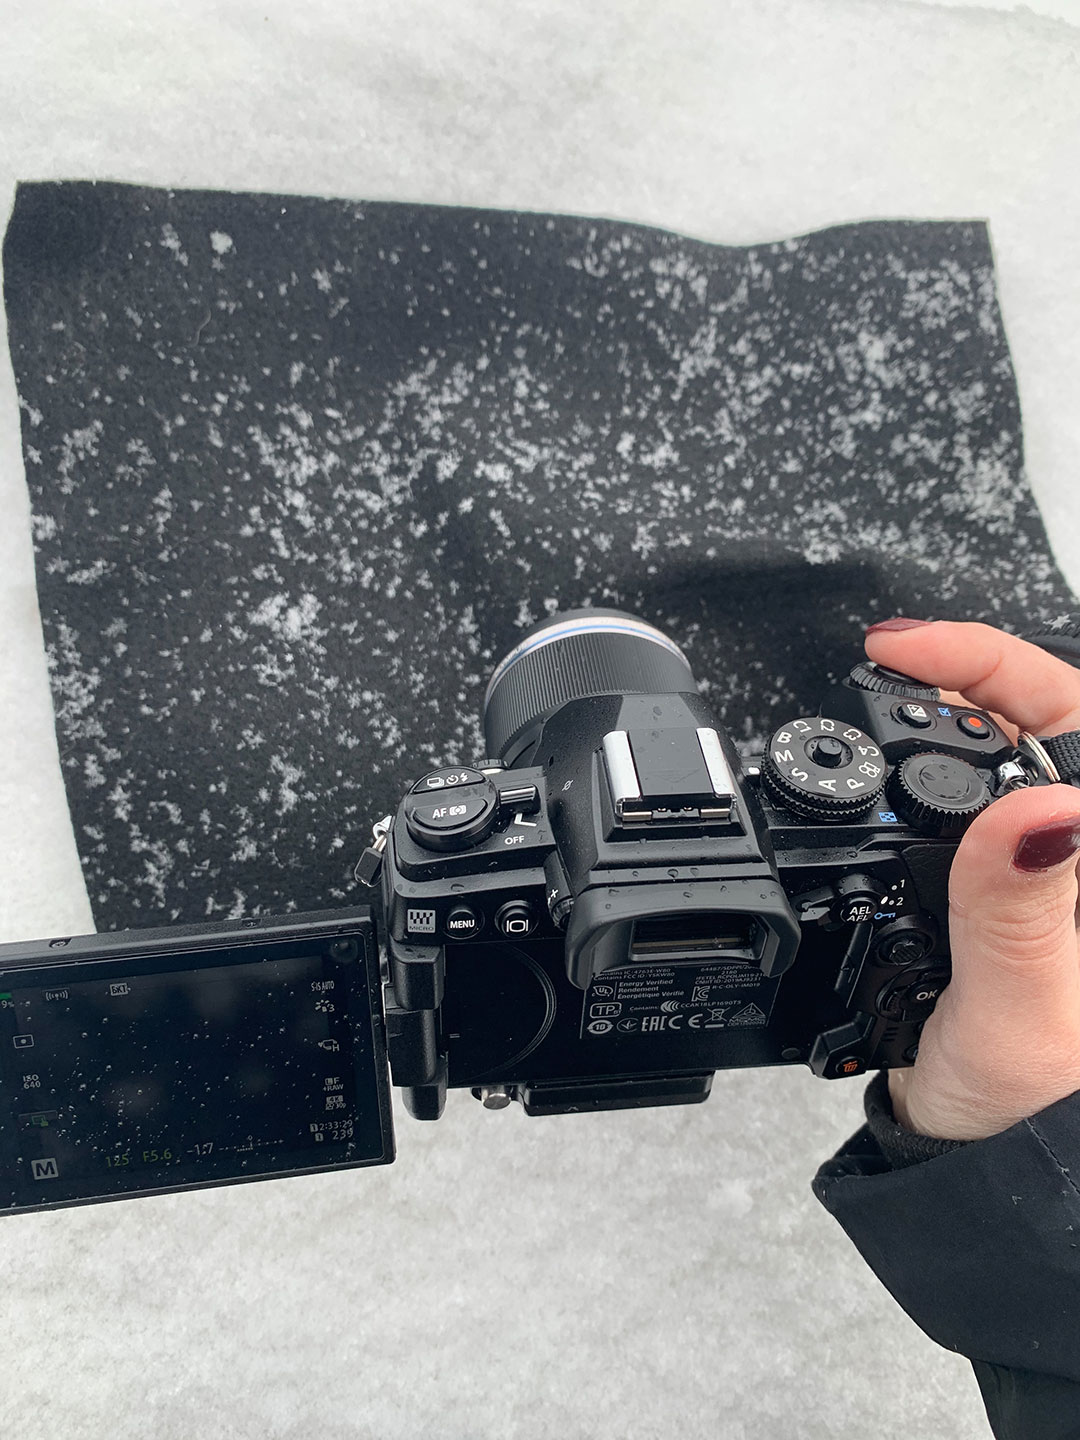
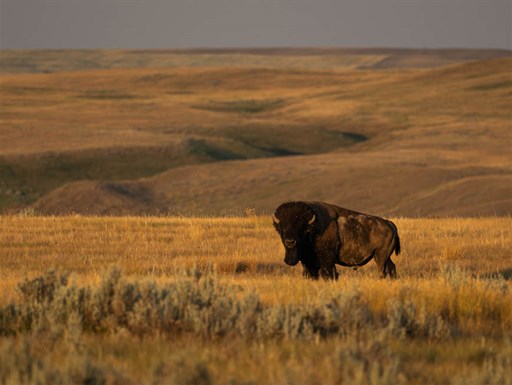
Complete the form below to create your account

This will be your public name in the community
We need this to keep you informed about your account

Mandatory data.

Why you'll love MyOMSYSTEM

All members get access to exclusive benefits:

  • Member community
  • Register products
  • Extended warranty
  • Monthly newsletter

Capturing Snowflakes with the Olympus 30mm Macro f3.5

Often when people think of macro photography they think of insects, arachnids, fungi, and flora. However, the macro ‘season’ extends beyond the warmer months. Winter is one of my favorite seasons here in New England; there is something magical about the first snowfall of the year. Sometimes, under the right conditions, the snowflakes so large that their intricate patterns can be seen with the naked eye. Other times they are such tiny little flakes that their beauty can only be captured using a macro lens. In this article I will share my tips and tricks on how to photograph macro snowflake images using the Olympus OM-D EM-1 Mark III and the Olympus M.Zuiko 30mm Macro f3.5.

E-M1 Mark III • M.Zuiko 30mm F3.5 Macro • 1/80s • F5.6 • ISO640

The Setup

The Olympus M.Zuiko 30mm Macro f3.5 is my lens of choice for snowflake photography. Snowflake's size and pattern depends on the temperature. On average snowflakes range in diameter from 0.05cm to 2cm. The 30mm Macro f3.5’s 1.25:1 ratio allows you to not only get closer but also capture more detail in the image. Prior to photographing your snowflake, you will need to choose a material for the snowflakes to land on; black felt is my favorite.

I find that the texture of felt adds a cozy detail and the dark color adds a nice contrast against the snowflake. A felt square is small so you can shake it out when the snowflakes start to pile up and be easily manipulated if you want to try and stand the snowflake up and compose your shot. I do recommend trying a few different types of materials and different colors to find what you like best. I prefer to work from a taller surface while photographing snowflakes so that I am not hunched over or blocking out any light with my body. For my setup I sometimes use the outdoor grill on my deck as a work platform, but a folding table, stool, or chair could be used.

Beyond the Traditional Setup

I always encourage creativity in photography and composing your shot. If you live in a wooded area, you could use pine needles, pinecones, or other natural elements as a backdrop for your photo. When using natural elements, I like to focus on the top largest snowflake. To capture the individual detail, it is important to not wait until the snow is done falling because the flakes will have compressed too much. Another interesting way to capture snowflakes is to photograph them stacked on top of one another. This allows you to see and compare the individual beauty of each snowflake.

E-M1 Mark III • M.Zuiko 30mm F3.5 Macro • 1/60s • F5.6 • ISO800

Composing and Capturing Your Image

Depending on the size of the snowflakes you may want to capture them grouped together or on their own when photographing on the material. Once you find your perfect snowflake, look for the best angle and lighting by turning the felt or moving yourself until you are happy with the composition. You need to move quickly since the snowflakes will start to melt. I suggest keeping your aperture wide open to let in all of the ambient light that you can, slow your shutter speed, and increase your ISO until you have proper exposure. I use the Olympus in-camera focus stacking feature to pull as much detail as possible from the snowflake. I like to handhold my macro shots because I feel like it gives me a bit more versatility, but you can absolutely use a tripod, beanbag, or whatever you need to help you achieve your best shot.

E-M1 Mark III • M.Zuiko 30mm F3.5 Macro • 1/125s • F5.6 • ISO640

Tips and Tricks

My biggest tip is to keep your material of choice in your freezer. This will help prevent the snowflakes from melting too quickly. Using a flashlight or cellphone light works beautifully to bring out more detail in the snowflakes. I have found that sometimes even on the lowest settings a flash can be too powerful and can easily blow out the highlights in your shot unless you are using a flash diffuser. Keep in mind that photographing snowflakes can sometimes be tricky and it takes patience but once you find your groove you will be anxiously awaiting each snowfall so that you can capture more images!

E-M1 Mark III • M.Zuiko 30mm F3.5 Macro • 1/160s • F4.0 • ISO800

E-M1 Mark III • M.Zuiko 30mm F3.5 Macro • 1/160s • F5.6 • ISO800

Overview

Macro photography is a style that can be enjoyed year-round. Beyond photographing snowflakes, winter gives us the opportunity to capture frost, icicles, and if you live in an area that gets down into the negative temperatures, you can even photograph frozen bubbles. I hope this article has helped you to learn how to capture snowflakes and inspired you to explore more elements of winter macro photography. Stay warm, make some hot chocolate, and have fun photographing your winter macro subjects.

Check List:

  • Olympus M.Zuiko 30mm Macro f3.5
  • Material/backdrop (remember to keep your material in the freezer to help the snowflakes last longer)
  • Flashlight or flash with a diffuser
  • Something to keep your material elevated (table, chair, etc.)
  • Tripod if needed
  • Warm clothing
  • Settings Outline:
  • Wide open aperture (f3.5)
  • Shutter speed around 1/60-1/125
  • ISO 640 +/-
  • Focus Stacking ON (found in the bracketing menu)


Featured products:


About you

More about Nicole Gearty

About the author

Related Tags

Comments